
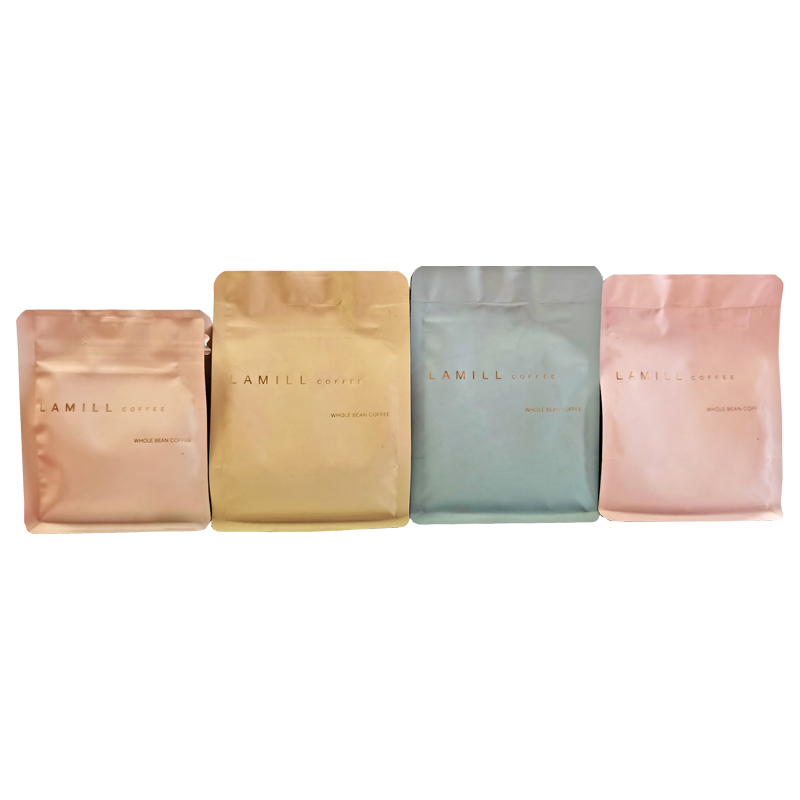
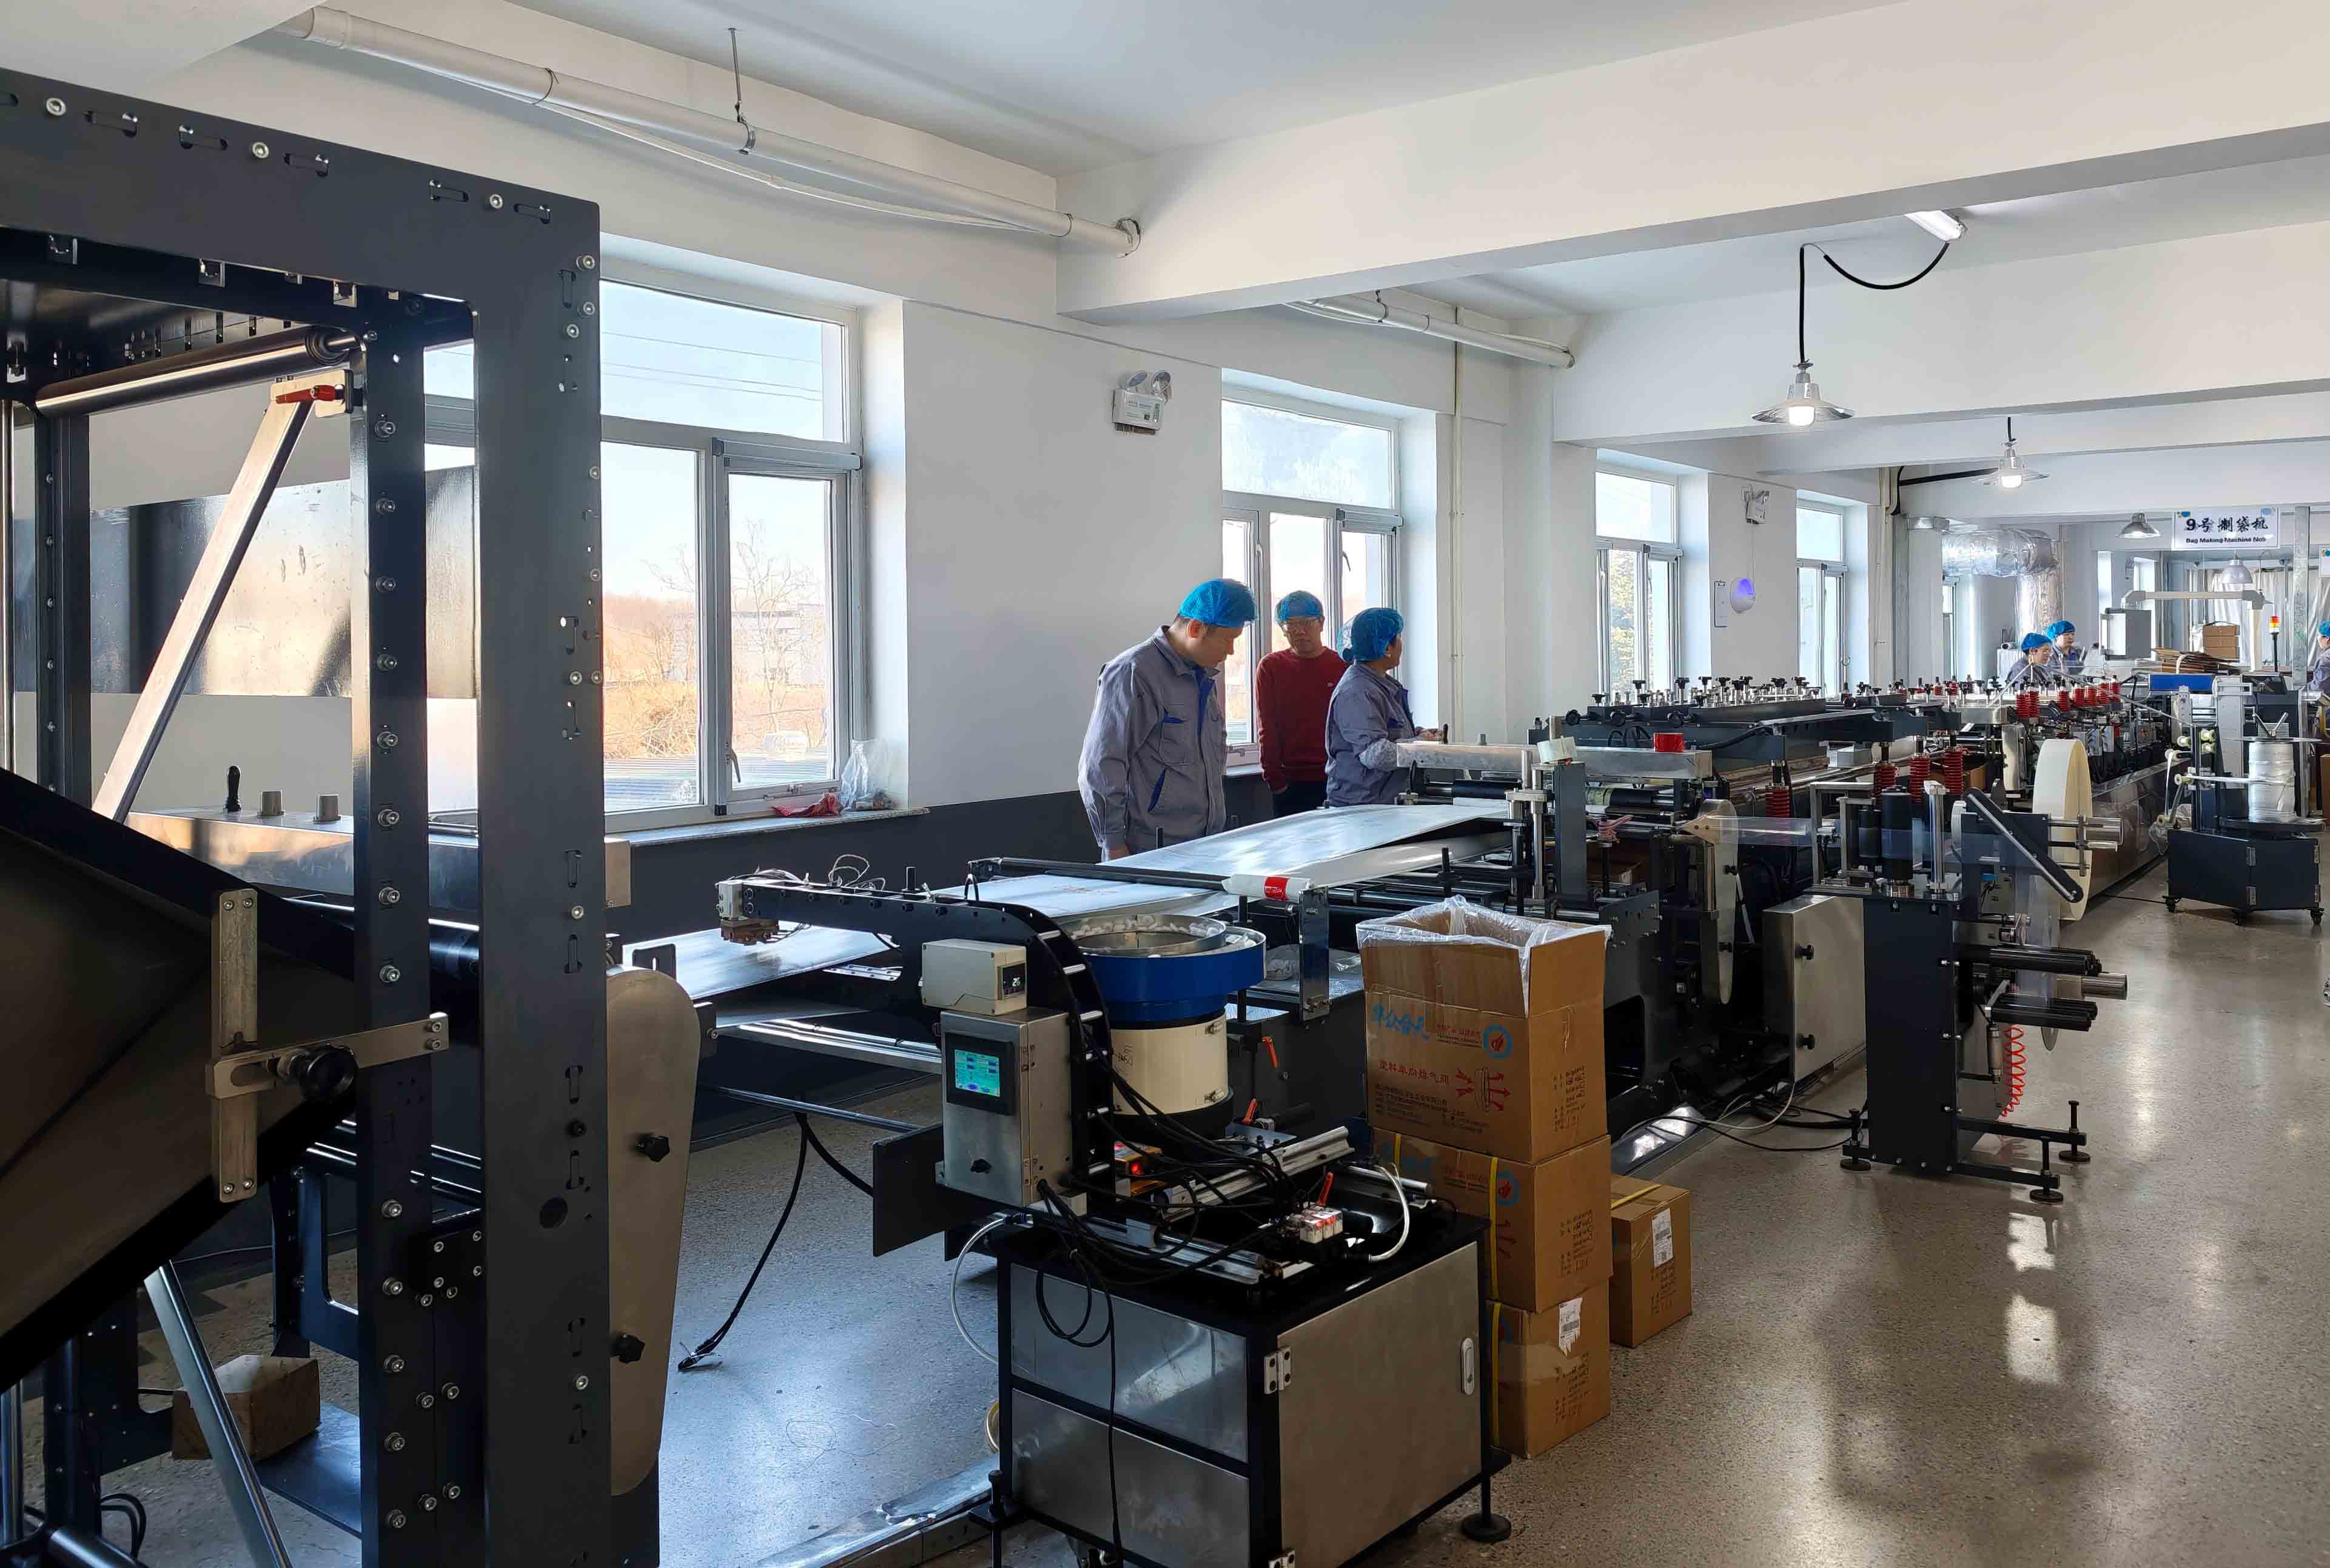
We manufacture the empty packaging; your roastery or packing partner completes the filling and final sealing stage. A useful discussion therefore includes both the bag specification and the machine you will use. A beautiful pouch that fits your coffee still needs enough accessible space for the jaws and a packing method that keeps coffee out of the seal.
This guide takes you from that first check to a written packing instruction. It focuses on the final closure after filling, with real bag constructions to show why a copied machine setting is a poor starting specification. For the wider approval process, including fit, handling and artwork, use our coffee bag sample-testing guide.
Start with the filling opening and final seal
Separate bag making from coffee packing
During bag manufacture, film is converted into the chosen pouch structure and its specified factory seals are formed. The bag still needs an intended access point for filling. Before buying sealing equipment, ask which opening will be supplied and how the filled package is meant to be closed. Do not assume that every zipper bag is filled and sealed in the same place.
A flat bottom bag, a stand-up pouch and a side gusset bag can present different folds to a sealing jaw. The finished appearance alone does not tell you how many layers will cross the final seal. Open an actual empty sample, follow the intended filling route and identify where the material is supposed to meet. Compare this with the approved drawing rather than positioning the jaws by eye.
Give the seal, zipper and valve separate jobs
The final heat seal joins the designated surfaces at the filling opening. The zipper provides an opening and reclosure feature for use after the initial package is opened. A degassing valve is another component, with its own position and function. None of these features identifies the other two's operating instructions.
On a sample, mark the final seal path, the consumer's first opening route and the closure that should remain usable afterward. This simple annotated photograph is valuable when a bag designer, packing operator and equipment supplier are working remotely. It also prevents an attempted final seal from crossing a zipper track, pull feature or valve area that was not designed to enter the jaws.
Our custom coffee bag process brings those choices into the specification before production. If your filling arrangement requires a particular opening, introduce that requirement while the bag is being developed.
Check that the equipment fits the complete bag
Check access as well as seal length
Measure the opening that must pass through the machine and check the usable sealing length in the equipment manual. A nominal jaw length is only part of the comparison. You also need to place the intended seal comfortably within the working area while supporting the filled bag and keeping folds in their intended positions.
Try that movement with an empty sample first, then with a representative coffee fill. A bag that is easy to flatten while empty may be awkward to present when beans push into the upper area. Support the package so its weight does not pull the mouth out of position during the cycle. Check that your operator can repeat the placement without stretching the material or disturbing the opening features.
Understand the controls on your machine
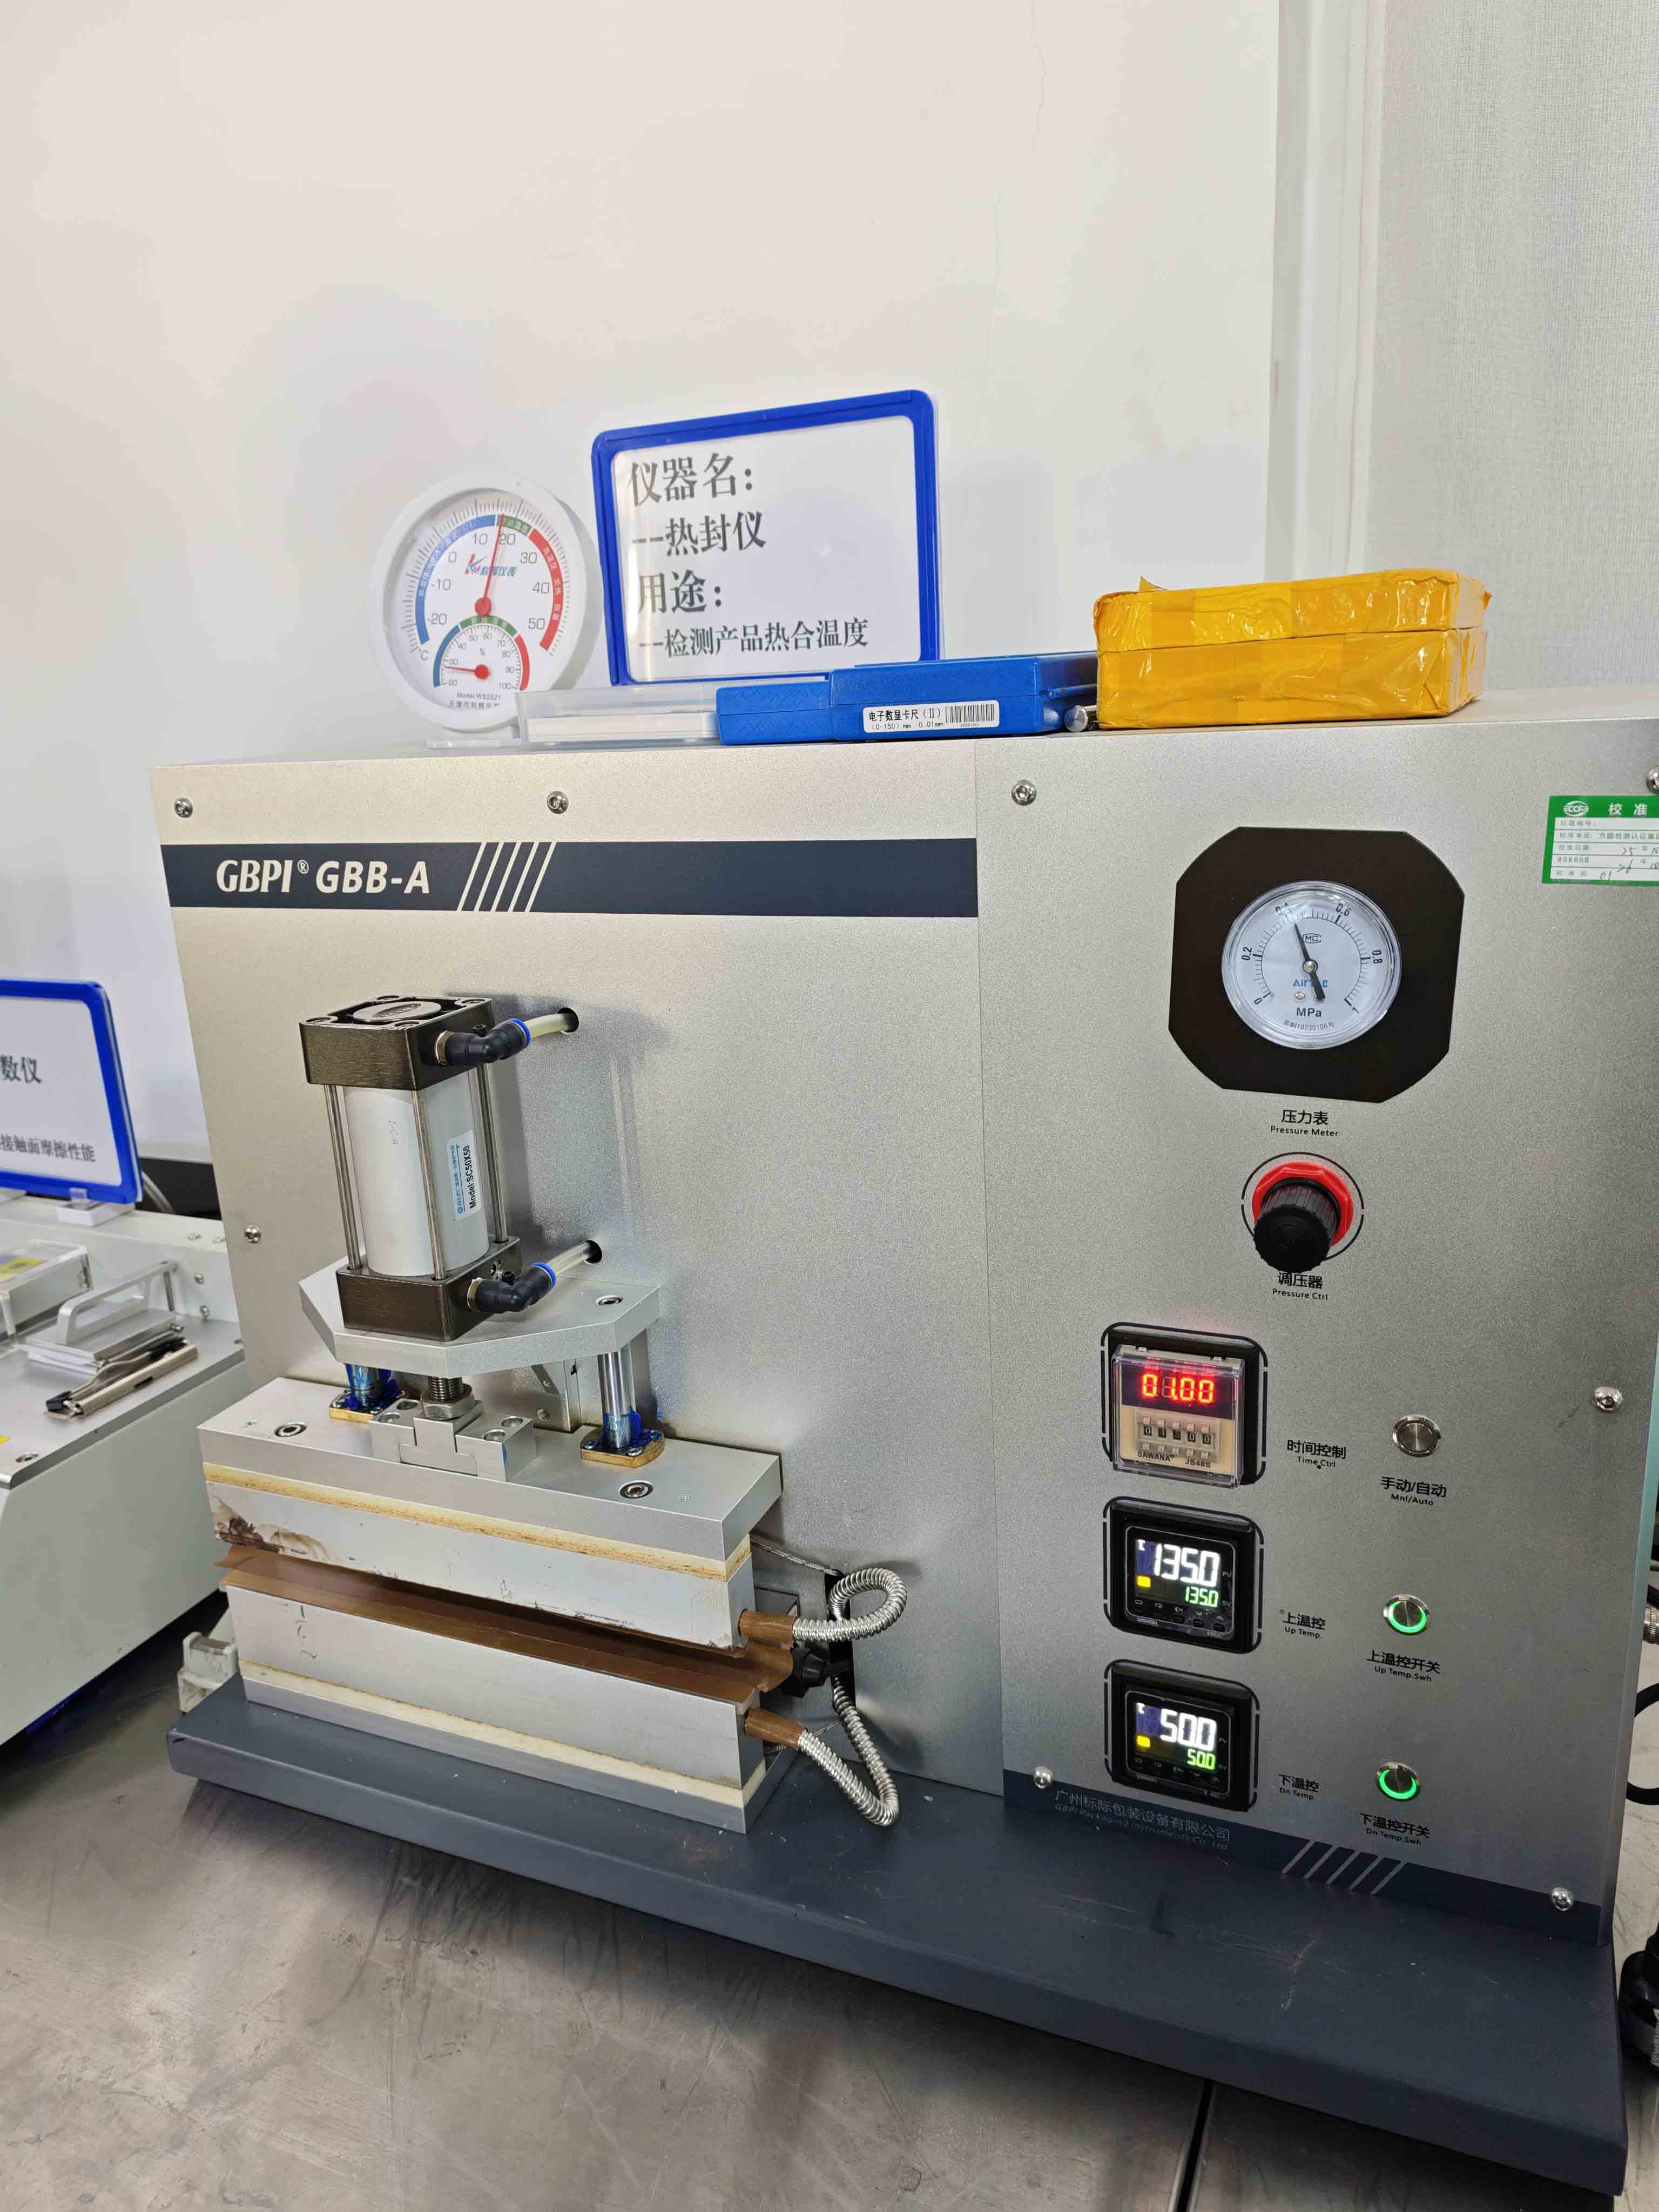
Impulse, constant-heat and continuous sealing equipment do not express every adjustment in the same way. Read the manual for the exact model to establish what its controls change. A numbered dial should not be recorded as a temperature unless that is what the manufacturer says it represents. Where a conveyor is involved, record the relevant speed setting as well as the heater setting.
Some equipment separates heating and cooling controls. PAC Machinery's PT impulse sealer, for example, lists independent seal and cool timers. That is an illustration of why an instruction needs to describe the whole cycle, rather than copy one prominent number from a control panel. It is not a recommendation that this particular machine is suitable for every coffee pouch.
Before a trial, check the condition of the contact surfaces, covers and supporting parts as the machine manufacturer instructs. Worn or damaged parts can complicate a materials discussion. Record the machine model and working condition so a later comparison is about the same equipment, rather than an unidentified sealer that happens to look similar.
Read the material construction before choosing settings
Start with the sealable surfaces
A coffee bag is more than its visible outer finish. The sealing surfaces, the layers behind them, overall thickness and the way folds reach the jaws all belong in the discussion. A silver inside surface does not distinguish aluminum foil from metallized film, and a paper exterior does not identify the inner sealing layer.
Send the complete material structure when it is available. Our barrier material guide explains how to discuss those layers. If you only have a sample, send it with photographs of the open bag and your packing arrangement so we can help identify the information needed for your project.
Compare three coffee bags we have made
The following production examples use different constructions. They are useful references for a sealing conversation, not a shared machine recipe.
| Coffee bag | Approved material structure | Recorded film thickness | What to bring into the sealing trial |
|---|---|---|---|
| 250 g digitally printed flat bottom bag | PET / VMPET / PE | 140 µm | Its actual filling opening, fold presentation and final seal position |
| 12 oz digitally printed stand-up pouch | MDOPE / PE | 140 µm | The selected PE-family construction and the equipment's contact arrangement |
| 2 lb white kraft flat bottom bag | White Kraft Paper / PLA (PLA+PBAT) | 140 µm | The paper-containing construction and its specified inner sealing surface |
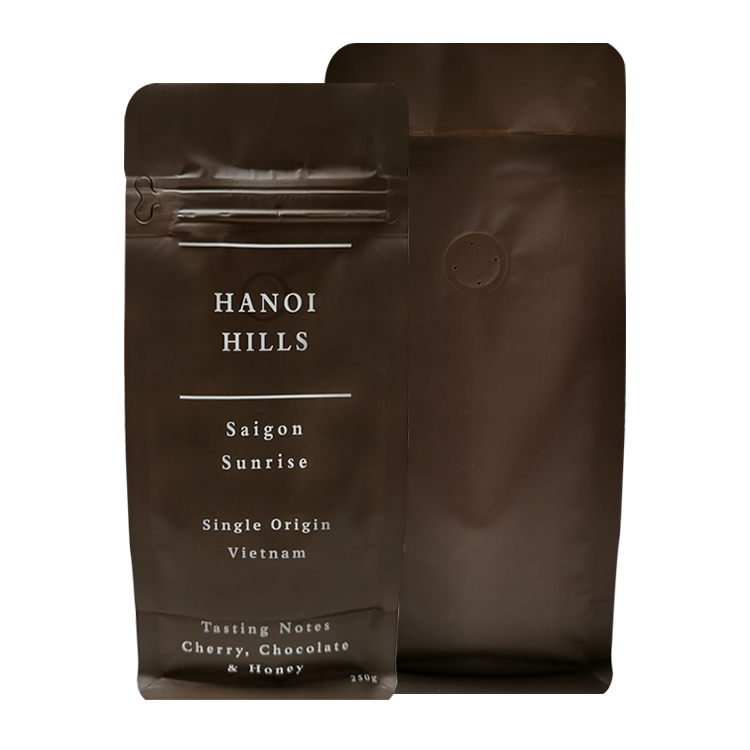
We made the 250 g flat bottom bag in 9.5 × 22 + 7 cm. Its PE inner layer belongs in the material description, but that label alone is not a complete operating instruction. The finished bag, its folds and the chosen equipment still have to work together.
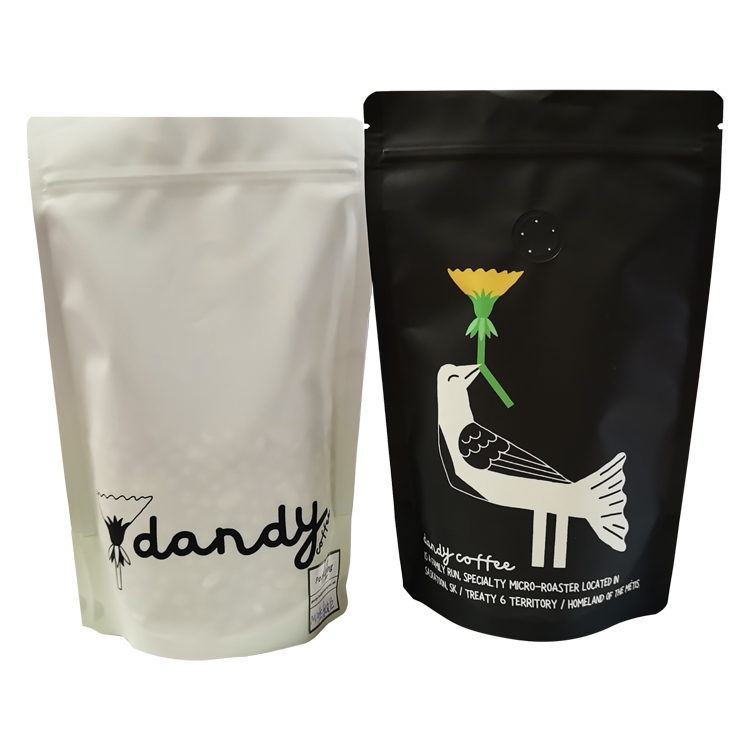
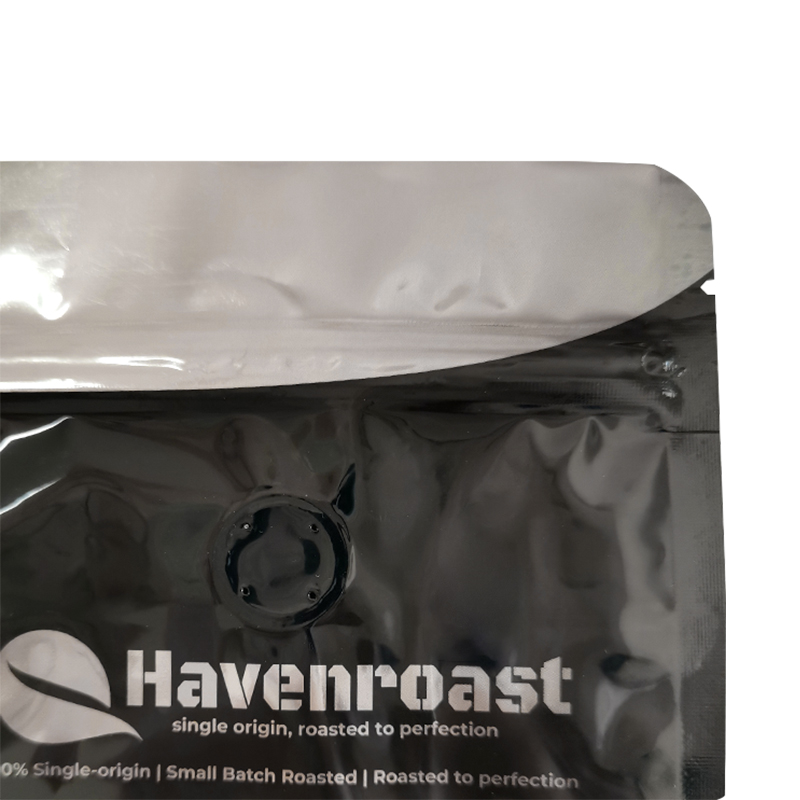
The 12 oz MDOPE/PE stand-up pouch measures 15 × 23 + 5 cm and includes a degassing valve. It carries the same recorded total film thickness as the other examples, but it is a different construction. Matching the micron number does not establish that the same machine setup will give the same result.
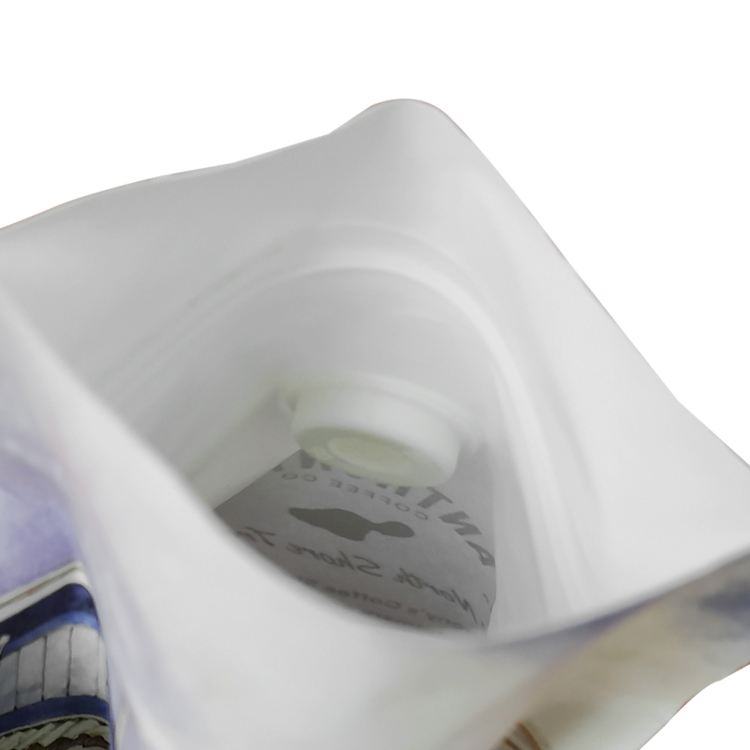
For the 2 lb white kraft bag, the specification is 12.5 × 37 + 8.5 cm with gravure printing and a PLA degassing valve. The paper-containing laminate should be reviewed on its own terms. Neither its pale interior nor its total thickness justifies transferring the settings from a PE-lined pouch.
Prepare a clean, flat sealing area
Check clearance with the coffee in place
Trial-fill the selected bag with your intended coffee form and net weight. Let it sit in the normal packing position, then present the opening to the machine without forcing coffee downward or pulling the top taut. This shows whether your filling level and the final seal position leave a practical working space.
Use the clearance and seal location on the project drawing. Avoid replacing them with a universal distance copied from another bag. A pocket zipper, a different pull feature or a changed gusset can alter which area must remain accessible. If the design cannot be positioned comfortably, discuss the opening, bag dimensions or filling approach before ordering the production quantity.
Keep units and reference points clear when sending a photograph. A marked line on an empty pouch can mean something different once the package is filled and its folds expand. Show both states if access is the issue. Include a side view when the folded layers are hard to understand from the front.

Keep coffee out of the joining surfaces
Inspect the full seal path before bringing the jaws together. Beans, ground coffee and loose particles should not sit between the surfaces you intend to join. A dusty filling routine should be corrected at the filling and presentation stage, rather than treated as a reason to apply more heat.
Look across the folds and corners as well as the center. Flatten the opening in its designed arrangement without inventing a new fold to make it fit. If a recurring wrinkle appears, record where it begins and compare empty versus filled samples. That helps distinguish a presentation problem from one that appears only when product occupies the upper area.
Keep the equipment's sealing surfaces clean according to its own instructions. Do not improvise a cleaning liquid or service a hot or powered machine on the strength of a bag guide. The equipment manual should determine the method and maintenance precautions for that model.
Establish settings through a controlled trial
Treat the settings as a combination
Heat, contact time and pressure work together with the particular material. On some machines you can set several of these directly; on others you control them through a different arrangement. Begin with guidance for the actual machine and laminate, and record what each control represents.
DuPont's heat-sealing discussion explains the interaction of these variables in sterile-barrier applications. The general lesson is useful here: changing one setting can change how the other settings perform. Its application-specific guidance is not a sealing recipe for our coffee bags. ASTM F2029 likewise describes laboratory seal preparation; laboratory findings provide a starting relationship, rather than a substitute for checking production equipment.
Choose a clearly identified sample and a repeatable presentation method for your initial trial. Keep the bag, machine and filling condition fixed while investigating a setting. If several things are changed together, you may get a different seal without knowing which change caused it.
Make the trial easy to compare
Label trial samples as you make them. Put the setting record on a separate card or log so writing does not interfere with the seal area. Give each group a reference that connects the physical samples with the material, operator, machine and inspection notes.
| Trial record field | What to write |
|---|---|
| Bag identity | Drawing or sample reference, material structure, thickness and opening layout |
| Equipment | Manufacturer, model, relevant jaw or band arrangement and condition |
| Control settings | The actual control names and units, including speed or cooling where applicable |
| Sample condition | Empty or filled, coffee form and net weight when filled |
| Observation | Exact defect location, visual change and results of the agreed checks |
| Next change | One planned adjustment and the reason for trying it |
Do not jump from one successful-looking sample to a production instruction. Repeat the selected arrangement to see whether the placement and cycle are practical for the operator. Then check representative filled samples, including any folds that cross the final seal. Agree how many samples and which acceptance checks your project requires; a blog cannot set those requirements for every packing line.
If no useful setup emerges within the material and equipment guidance, return to the underlying combination. A different opening arrangement or more suitable equipment can be a better solution than continuing to increase a control setting. Share the unsuccessful samples and their records so the discussion starts with observable differences.
Let the seal cool and inspect the finished result
Follow the complete cycle
On an impulse sealer, the heating indication and the point at which the bag should be released may be different. Follow the model's prescribed cooling or holding stage. IMPAK's IPK manual, for example, includes an additional hold after the light turns off. Use the instruction for your own equipment rather than copying that model's timing into a different machine.
Support the bag during the cycle and afterward as your packing arrangement requires. An operator should not need to pull a freshly made seal simply to move the package away from the jaws. Include this handling step in the trial, especially if the next operation places the bag into a carton or moves it along a conveyor.
Separate appearance, strength and continuity
Inspect the cooled seal along its complete length. Look for interruptions, trapped particles, wrinkles, damaged material and uneven areas. Compare the corners and fold transitions with the middle. Photograph a problem before pulling the seal apart, because destructive examination can remove the evidence that would help locate its origin.
Visual inspection is a practical first check, but a neat-looking line is not a full description of seal performance. The evaluation should suit your package and agreed requirements. ASTM F88/F88M addresses the force needed to separate a seal specimen. That is a different question from whether a package contains an unintended leak path; an appropriate integrity evaluation must be discussed separately.
When comparing measured results, keep the method and specimen preparation consistent. An informal pull by two different people is not the same thing as a defined test result. If a packing partner already has an acceptance method, provide it before the trial so samples and records can be prepared in a useful way.
Troubleshoot the observation before changing the setup
Locate the problem on the sample
Describe what happened rather than writing only “bad seal.” Was the joining incomplete across the center, weak near one fold, interrupted by coffee, or accompanied by distortion of the material? Did it happen on every sample, only when filled, or after a change in handling? Those distinctions make the next step more focused.
Use the following table as an investigation aid. Each observation can have more than one cause. A listed check is a place to look, not a diagnosis or permission to keep packing with an unacceptable result.
| Observation | First checks | Useful next record |
|---|---|---|
| One area appears unjoined | Particles, wrinkles, actual contact and local fold arrangement | Photograph the untouched seal and mark the affected position |
| The center differs from a corner | Presentation, jaw contact and the layers crossing that corner | Compare empty and representative filled samples |
| Material looks distorted or sticks | Machine guidance, contact-surface condition and the complete heat/cool cycle | Note whether the change appears during heating or release |
| A closure is hard to use afterward | Final seal position and access around the opening feature | Show the drawing and a sample from the same trial |
| Results change during a run | Bag reference, placement, machine condition and settings over time | Keep samples linked to their time and operating notes |
Keep the opening usable
After the initial seal checks, follow the intended consumer opening route on a sample. Confirm that the zipper or other reclosure remains accessible and works as intended. A package that can only be opened by cutting away the intended closure needs its layout reviewed, even if the final seal itself looks tidy.
If a result is unacceptable, identify and hold the affected packing output according to your quality procedure while the cause is investigated. Keep the samples associated with their settings. Quietly changing several controls and discarding the earlier samples makes it much harder to establish a dependable instruction or decide what needs to be checked again.
Turn the successful trial into a packing instruction
Record what another operator must repeat
Write the instruction around the actual bag reference and machine, rather than a generic heading such as “coffee bag setting.” Include the drawing version, material, opening orientation, filling level, placement reference, control settings, cooling stage and the agreed inspection method. A photograph of the correct presentation can explain something that a control-panel photograph cannot.
State which observations should trigger a pause and who should review them. Put the handling and packing steps in their normal order. If an operator needs a support, guide or other machine accessory to reproduce the setup, include that in the instruction instead of leaving it as an unwritten habit.
Retain the approved reference samples and their evaluation records in a way that keeps them identifiable. When discussing a later issue, compare like with like: the same bag, relevant material information, equipment arrangement and examination method. A sample from a different laminate or opening layout should be treated as a different reference.
Recheck changes that affect the setup
Review the instruction when the material, thickness, bag size, opening, equipment or filling arrangement changes. A new outer design can share a specification with an existing bag, but confirm that the underlying construction and relevant sealing area are unchanged before grouping the designs under one packing instruction.
Bring sealing questions into your next packaging brief early. Send us your coffee form and net weight, an existing bag or drawing, the complete material if known, your machine details and quantities per design. We can discuss a suitable bag and samples before you commit to production. Free design support is available if the artwork is unfinished; the bag layout should still accommodate your filling and final sealing process.
Frequently asked questions
Should I add a second heat seal just in case?
Confirm the required seal arrangement on the bag drawing and with your packing-equipment supplier. An extra pass or extra seal is not an automatic correction for contamination, poor contact or a damaged first seal. It may also use space needed for the intended opening. If your project requires more than one seal, include the complete arrangement in the sample trial and acceptance checks.
Can several printed coffee designs use one sealing instruction?
They may be grouped when the relevant bag specification and packing conditions are the same, but confirm that rather than assuming it from their appearance. Record which designs and material references the instruction covers. If another SKU changes the laminate, thickness, bag geometry, opening or fill presentation, review that change before applying the existing setup.
What if my packing partner only sends a photograph of a numbered dial?
Ask for the equipment manufacturer and model, the control's function, other relevant settings and a photograph of the bag in its sealing position. Include the material and sample reference. A dial photograph is useful as part of a record, but it does not identify the machine, explain the control or show whether the bag is being presented consistently.
What should I revisit when moving from whole beans to ground coffee?
Repeat the representative fill and presentation checks, paying attention to how the product reaches the upper area and whether particles enter the joining surfaces. Confirm that the bag and material specification remain suitable for the new coffee form. A change in product does not by itself tell you a new temperature; it tells you which parts of the actual packing trial need to be reviewed.
Further Reading
Discuss the sealing requirements for your coffee bags
Tell us your coffee form and net weight, preferred bag, complete material if known, sealing equipment, quantities and delivery country. If a sample is giving you trouble, include clear photographs of the opening and the affected seal.