
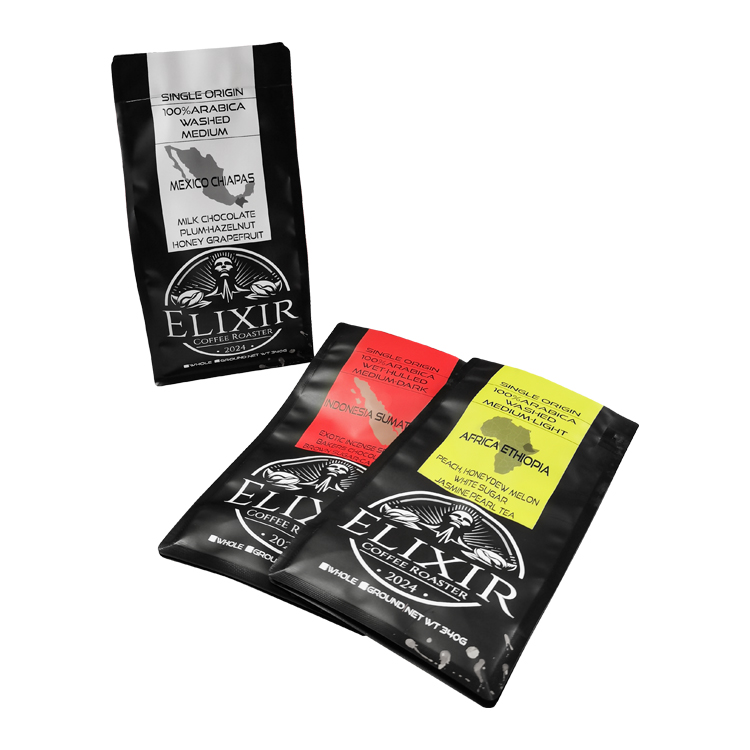
A 12 oz coffee fill does not determine one universal bag size. We have made different 12 oz configurations with different dimensions, materials and openings. This guide helps you describe the bag you have and the changes you want, so the next conversation starts with clear measurements.
Separate coffee weight from bag dimensions
Why 12 oz does not define one outside size
The weight printed on a coffee pack describes the intended coffee fill. Bag dimensions describe the package around it. You need both to prepare a useful brief: the amount you sell and the geometry you want to fill, close, display and handle. A request for a 12 oz bag is a starting point for that discussion, rather than a complete dimensional specification.
Two bags for the same coffee weight can use a broader front, a taller body or a different base arrangement. Their opening positions and reserved sealing areas can also differ. When you like an existing package, explain what you want to retain: its shelf footprint, front-panel proportions, pouring access or compact filled shape. This gives us a reason for the size you are proposing.
Keep metric packs separate from ounce and pound packs
For coffee-weight conversions, 12 oz is approximately 340 g, while 1 lb is approximately 454 g. A 250 g pack and a 500 g pack are separate targets. Keep the weight you intend to sell in its original unit, even if you add a rounded equivalent to help another person read the brief. The NIST conversion tables distinguish weight ounces from fluid ounces; coffee net weight uses a mass unit.
Write the target beside each design or product reference. If one range includes 250 g and 12 oz packs, give them separate entries rather than assuming that one size description covers both. Our coffee bag sizes and dimensions page provides broader fill-weight references and the available formats. Here, the goal is to create a measurement record for the particular bag you want to discuss.
Use your actual coffee when reviewing space
Coffee occupies space as beans or grounds, with gaps between particles. Research by Corrêa and colleagues found that roast level and grind size affected bulk density under the conditions they studied. For a packaging project, that supports checking the actual coffee and filling method instead of applying one universal grams-per-volume value to every product.
A different roast or grind can therefore justify another sample-fit check even when the declared net weight stays the same. Record the coffee used, how it entered the bag and how it settled. Avoid squeezing or shaking a sample simply to make a preferred size work unless that handling represents your intended process. The useful question is whether the proposed package accommodates your normal packing and closing sequence.
Record the condition of the bag you are measuring
Separate flat, opened and filled observations
Start with an empty reference bag when available. Identify its front, back, bottom and opening, then lay it on a level surface with the original folds arranged gently. Use a ruler suited to the bag size and keep its scale readable. Flatten wrinkles enough to identify the boundaries without stretching the film or forcing a folded gusset into a different configuration.
Keep each measurement attached to its state. An outside width taken from a flat front view and a depth taken from a filled bag can both be useful, but they describe different conditions. Label them accordingly. If you only have a used bag with its top removed, record that alteration; the remaining height cannot supply the original overall height by itself.
| Reference condition | What to record | What the view helps discuss |
|---|---|---|
| Empty, laid flat | Front-face boundaries, overall height, original folds and visible seals | Initial outside dimensions and a repeatable measuring view |
| Empty, opened | The particular bottom or side fold being opened and the endpoints used | Gusset definition, panel arrangement and mouth access |
| Filled to the target weight | Coffee used, filling method, settled shape and closure state | Working footprint, filled height and remaining closing space |
| Filled and packed for dispatch | Bag orientation, carton arrangement and actual filled outline | Fit within the proposed transport or display arrangement |
Mark endpoints before writing a size string
For an initial outside-width record, mark the left and right outer boundaries of the front face you are measuring. Draw a straight arrow between those points and show whether it includes sealed edges. For overall height, mark the uppermost and lowermost package boundaries in that same condition. A measurement between inner seal edges needs its own label so it can be distinguished from the outside value.
Photograph the ruler beside the bag with the camera facing the measuring surface as squarely as practical. Include a wider view that identifies the panel and a closer view if a fold or edge is unclear. Leave both arrowheads visible. A number written beside a cropped close-up is harder to interpret when the reader cannot see where its measurement begins and ends.
Check where the ruler's zero mark sits; it may be inset from the physical end. Align that mark with your chosen starting point and read the other endpoint directly from the scale. If a curled edge makes alignment difficult, support the bag gently in its stated condition and take another reading. Keep the ruler and measured surface in the same plane for the photograph. Write the reading in the record as well as showing it in the image.
Keep units and reading precision consistent
Use one primary length unit throughout the record, such as millimeters or centimeters, and write it in the table heading as well as on the marked image. NIST defines 1 inch as exactly 25.4 mm. If you add an inch conversion, retain the original measurement beside it so a rounded display value does not quietly replace the intended specification.
Record what you can actually read from the reference and measuring tool. Extra decimal places created by a conversion do not make a hand measurement more precise. Keep the measured reference, proposed production dimension and agreed tolerance as separate entries. We can then review the drawing and the method used to check the finished bag without treating every digit in an early note as a manufacturing requirement.
Read each bag format on its own drawing
Identify the panels and base of a flat bottom bag
A flat bottom coffee bag has a formed base and separate faces and side panels. Identify which face is the front before measuring its width. Show the base separately and mark the exact depth or fold you are recording. Opening the sides changes the view of those panels, so retain a flat reference photograph alongside any opened-base view.
On the project drawing, connect each number to a pair of endpoints. Ask whether a dimension refers to the outer face, an inner usable area or a particular base measurement. The plus sign in a supplied size string does not answer that question on its own. Keep the supplier's original notation with its drawing, and add a plain-language explanation of the feature it measures.
Show how a stand-up pouch bottom is arranged
A stand-up pouch expands through a bottom gusset. Record its face width and overall height in the stated condition, then show the bottom from a view that makes the fold clear. If you open the base to take another measurement, identify the starting and finishing edges in that opened view rather than leaving the reader to infer them from a front photograph.
Ask whether the quoted gusset figure describes an opened depth, a folded portion or another defined measurement. Do not double or halve a number simply to make it resemble another supplier's listing. Compare the annotated drawings first. Once the definitions match, you can decide whether the base arrangement and filled footprint suit your shelf and handling requirements.
Keep side-gusset measurements tied to their folds
For a side gusset bag, show the front face with the sides folded and add a view of the relevant side opening. Mark which fold or opened depth you measured. Keep the height reference clear if the top is folded for presentation or held by an external fastening. A folded display height and the full outside height belong in separate fields.
These format checks help translate an existing bag into a usable dimensional brief. For the broader choice between structures, use our flat bottom, stand-up and side gusset comparison. When changing formats, begin a fresh drawing for the new construction. Carry across the coffee and handling requirements, then review the panels and folds that will deliver them.
Mark the areas that affect usable space
Locate the initial seal, zipper and opening access
The full outside height includes material that may be reserved for an initial seal, opening feature or closure. Mark those areas on your reference instead of treating the whole rectangle as available coffee space. Identify the intended filling entry and the consumer opening separately, especially when a panel-access zipper leaves the upper area available for filling and final sealing.
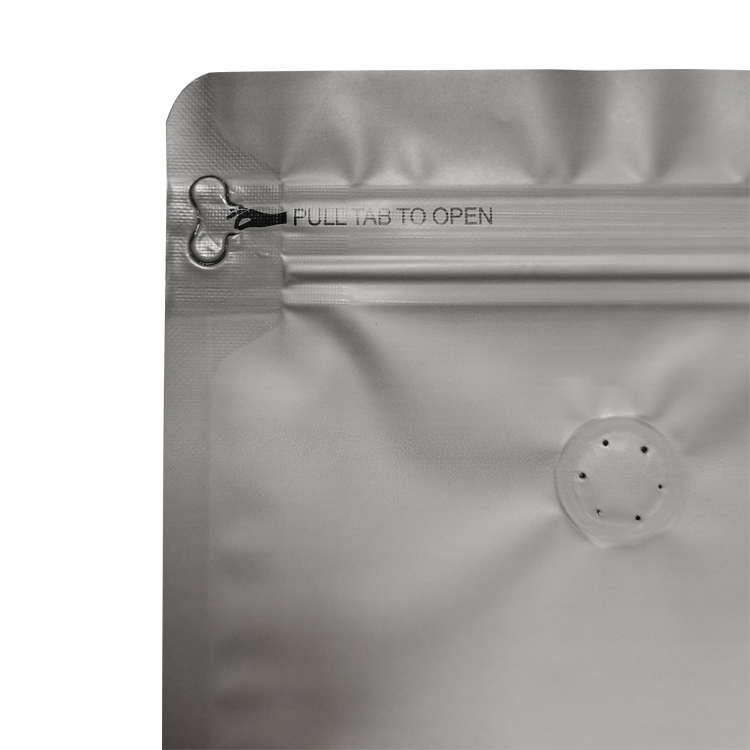
Show the valve and closure positions in relation to the same reference edges used for your dimensions. Include any tear route, pull tab or gripping area that affects how much material must remain above or around the opening. Our opening and reclosure guide explains the use sequence; your size record should show where those features sit on the proposed package.
Include the filling equipment in the dimensional discussion
Describe how you will introduce the coffee: by hand, through a funnel or with a particular filling setup. A stated face width does not give the complete shape of the opened mouth. The seals, folds and closure can affect access. Share relevant equipment dimensions or photographs and explain where the bag needs to be held, supported and presented for closing.
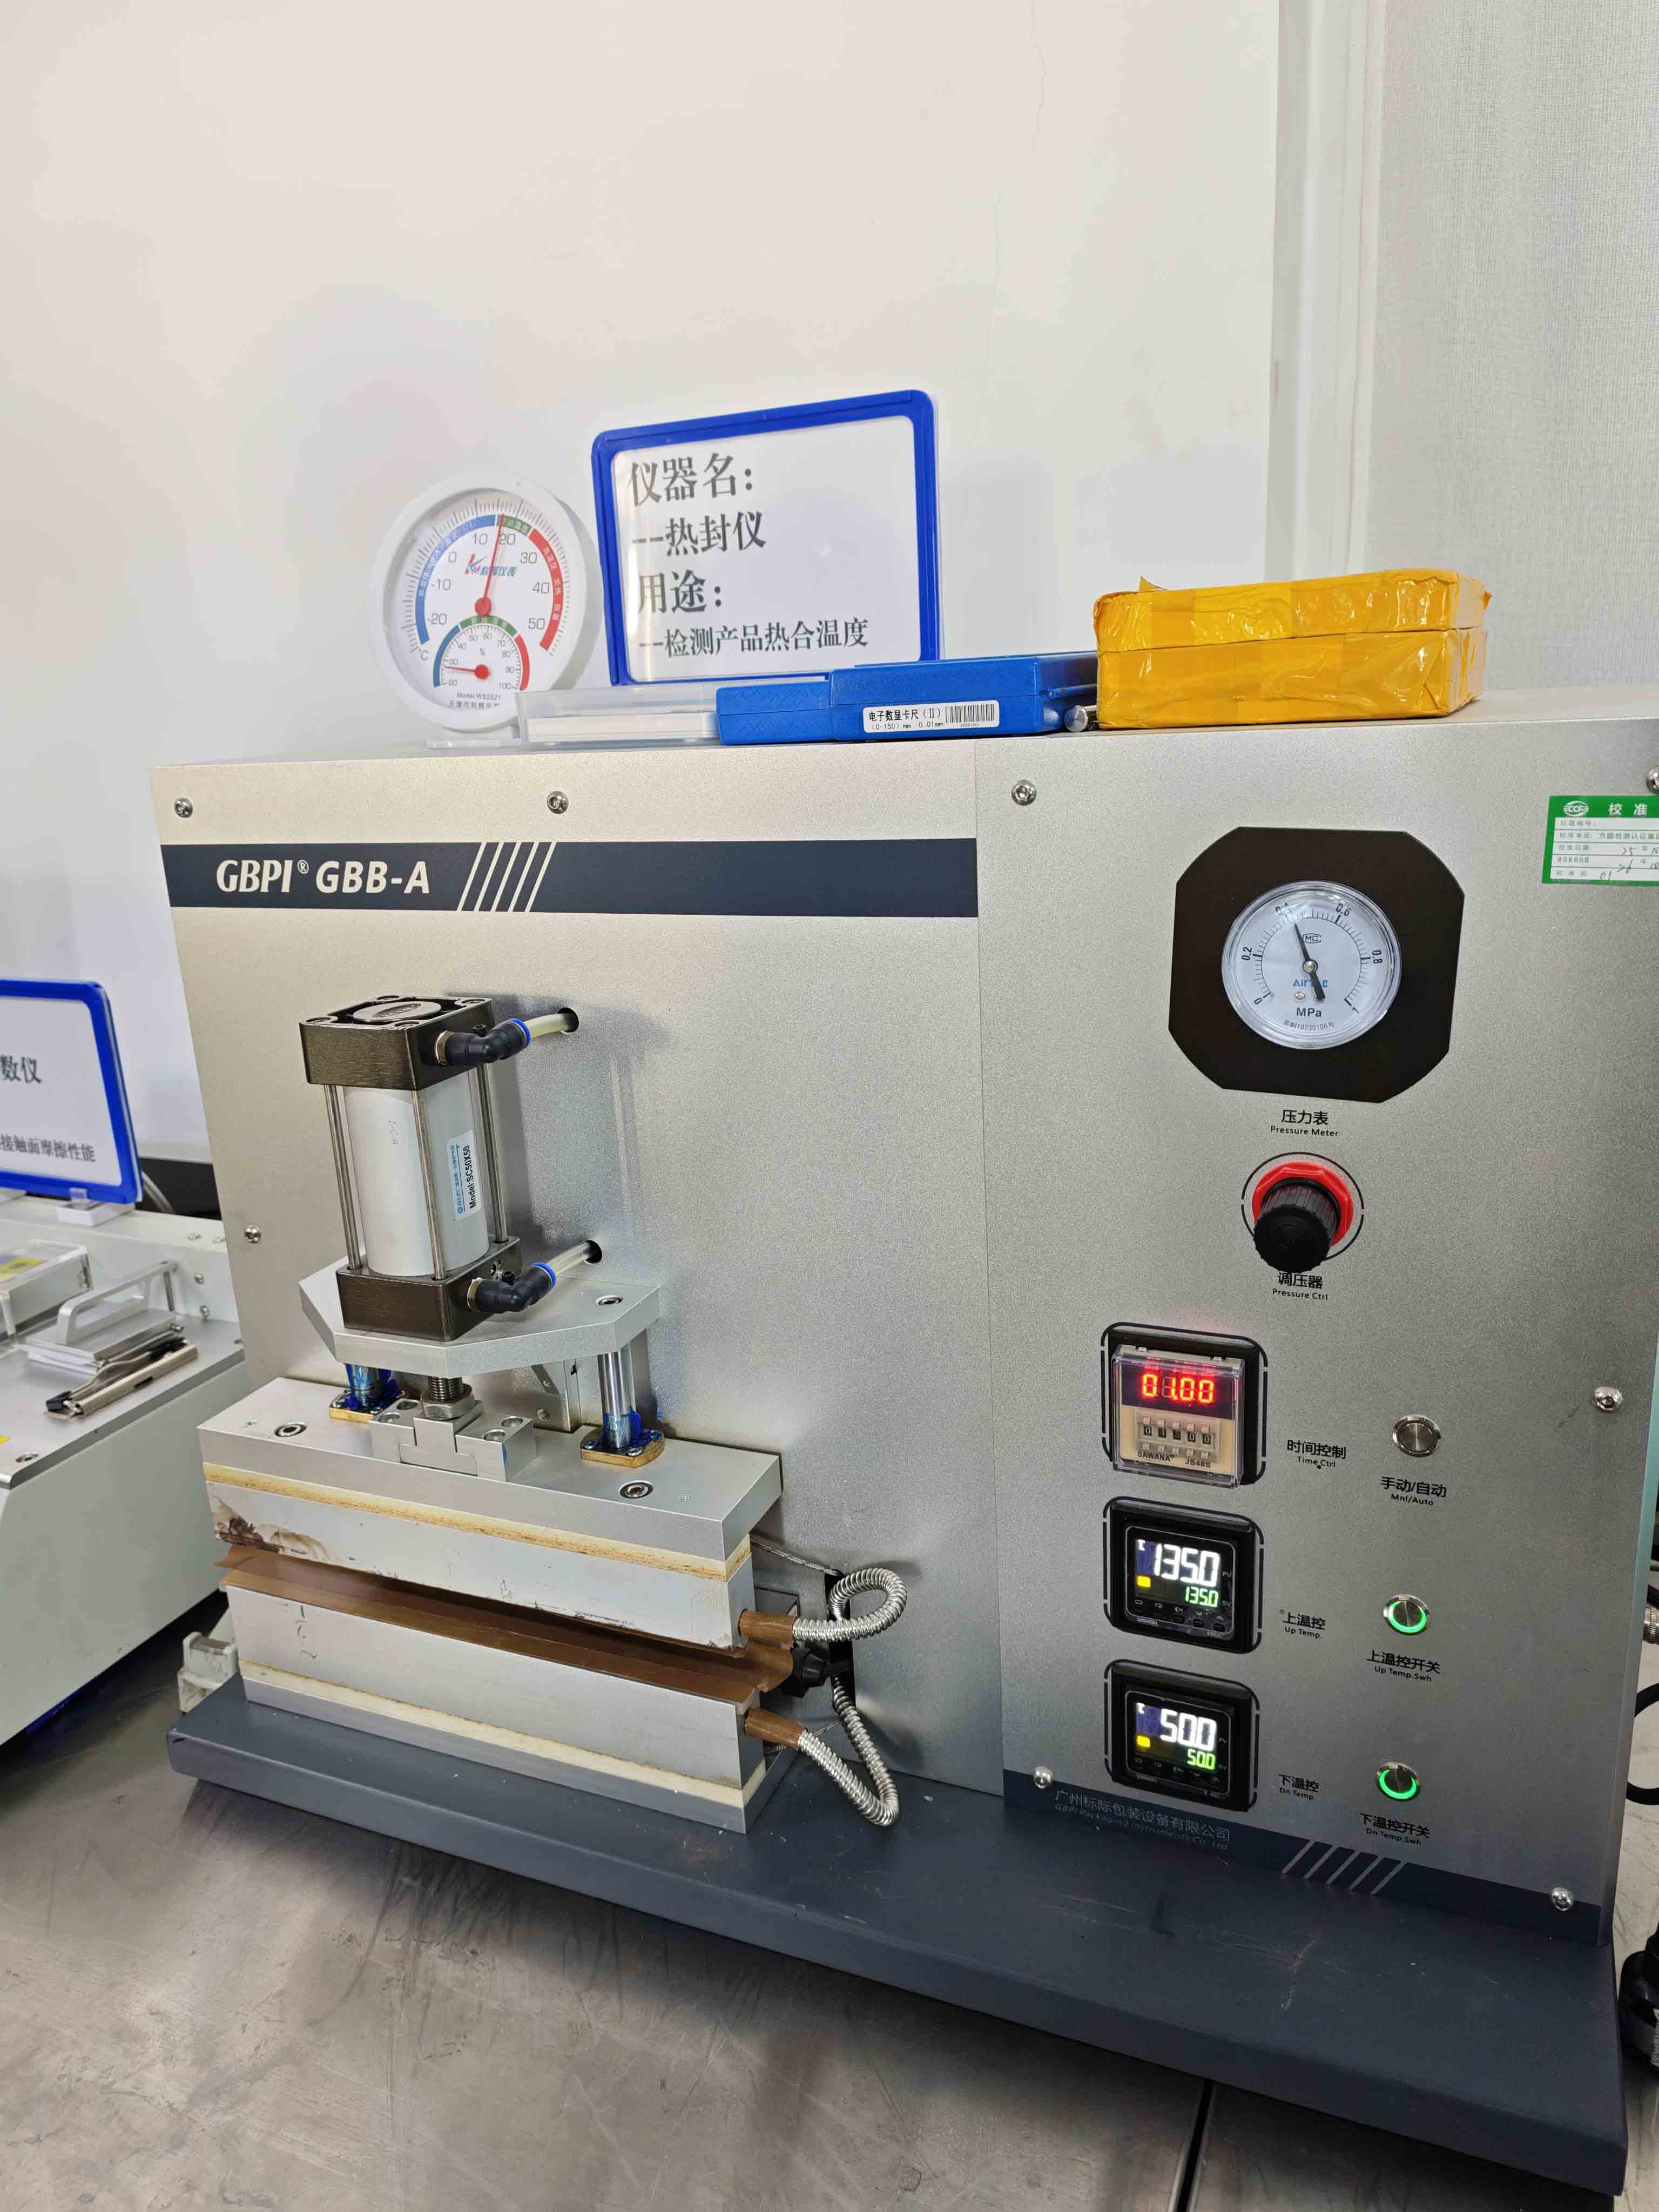
Review the top arrangement with the intended sealer. Confirm the required sealing area for the material and equipment instead of subtracting a fixed allowance from every bag height. Our coffee bag heat-sealing guide covers that process in more detail. For this record, mark the proposed seal boundaries and keep the equipment trial associated with the same drawing revision.
Check the working space on a filled sample
Once filled to the target weight, examine the space available for bringing the intended surfaces together and making the final seal. Note whether coffee collects near the sealing area, whether folds need rearranging and whether the bag can be supported consistently. Describe the exact difficulty if one occurs, such as the upper edges being hard to align after filling.
Use the same filled sample to record the practical shelf footprint and height in its intended closed condition. A flexible bag changes shape as its contents and folds settle. Outside dimensions alone therefore do not establish usable capacity, a filled outline or carton fit. Check the arrangement you plan to use, and keep photographs that show both the filled body and the closing area.
Compare real dimensions without assuming equal capacity
Three different 12 oz configurations we have made
The following projects provide concrete size references. Each 12 oz entry is approximately 340 g of coffee, while the 250 g entries remain separate fills. We retain each project's original centimeter notation, including the plus sign. Use the listed numbers for comparison; each photograph has its own framing and scale.
| Coffee bag reference | Coffee fill | Project dimensions | Opening or configuration detail |
|---|---|---|---|
| Digitally printed MDOPE/PE stand-up pouch | 12 oz / approx. 340 g | 15 × 23 + 5 cm | Stand-up format with a degassing valve |
| Digitally printed mono-PP flat bottom bag | 12 oz / approx. 340 g | 12.5 × 24 + 7.5 cm | Flat bottom format with a valve and zipper |
| Digitally printed pull-tab flat bottom bag | 12 oz / approx. 340 g | 15 × 26 + 6 cm | Flat bottom format with a valve and pull-tab zipper |
| Digitally printed matte flat bottom bag | 250 g | 9.5 × 22 + 7 cm | Valve and side zipper |
| Matte white flat bottom bag | 250 g | 14 × 18.5 + 7.5 cm | Valve and pocket zipper |
We made the 12 oz MDOPE/PE stand-up pouch in 15 × 23 + 5 cm, using MDOPE / PE at 140 µm and digital printing. It gives you a stand-up reference to compare with the two flat bottom constructions. If that pouch interests you, ask us to review its measurement definitions with your target coffee and filling method.

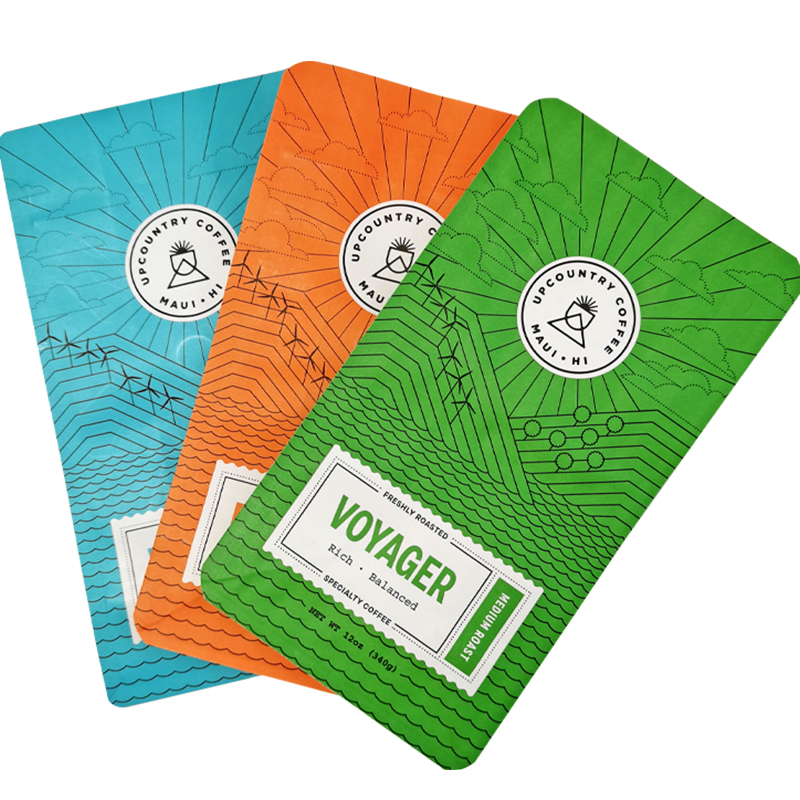
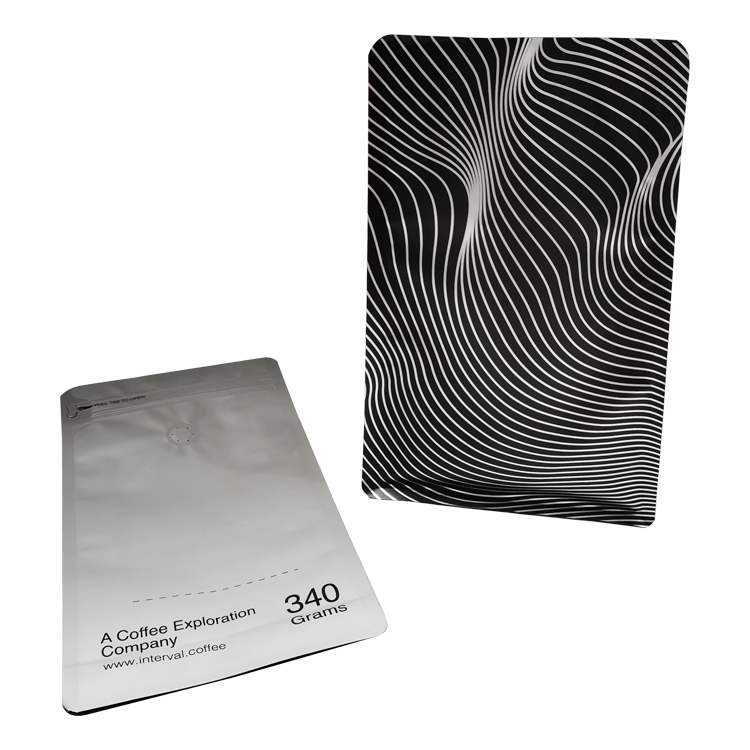
The mono-PP flat bottom bag shown at the beginning measures 12.5 × 24 + 7.5 cm. We made it with MOPP / VMOPP / CPP at 140 µm, digital printing, a valve and a zipper. Its matching coffee weight does not make the stand-up pouch's bottom measurement interchangeable with its own base specification.
Our pull-tab flat bottom bag measures 15 × 26 + 6 cm. We used MATOPP / VMPET / PE at 140 µm with digital printing. Alongside its different dimensions, the pull-tab zipper creates a different access arrangement. Include that opening preference in your brief when asking for a similar project; copying the size string alone leaves an important part undecided.
Two separate 250 g flat bottom references
We made the digitally printed matte 250 g flat bottom bag in 9.5 × 22 + 7 cm, with PET / VMPET / PE at 140 µm, a valve and a side zipper. This is a useful reference when discussing a relatively narrow face and the way information is distributed between the front and side panels.
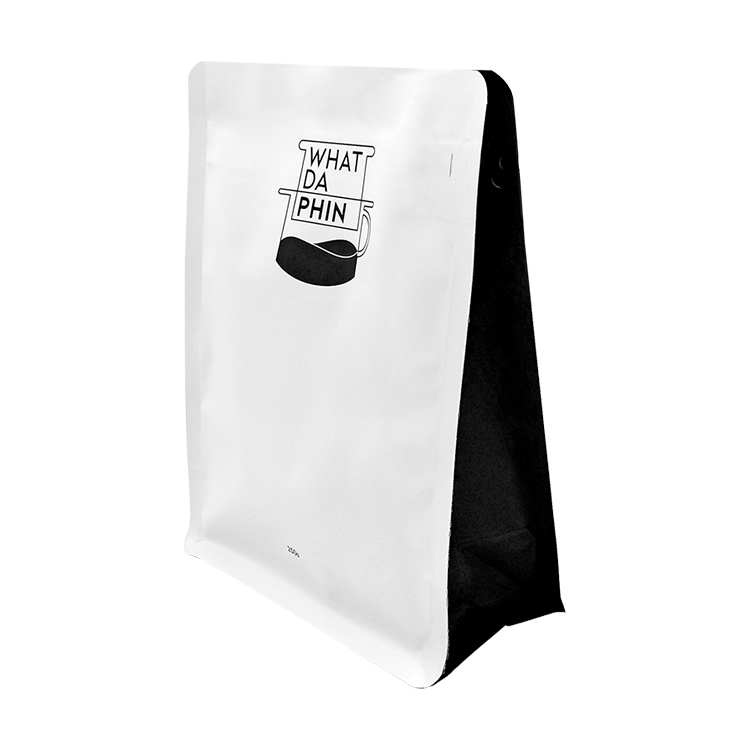
The matte white 250 g flat bottom bag is a different configuration: 14 × 18.5 + 7.5 cm, MATOPP / VMPET / PE at 140 µm, gravure printing, a valve and a pocket zipper. The different face proportions illustrate why a request for 250 g flat bottom bags still needs a dimensional and feature discussion.
Choose what you want to change before requesting another size
Use a project reference to explain one practical preference at a time. You might want a broader front for the coffee name, a lower closed height for a shelf or more convenient filling access. State that objective next to the existing dimensions. We can then discuss which part of the construction to review and what the revised sample needs to demonstrate.
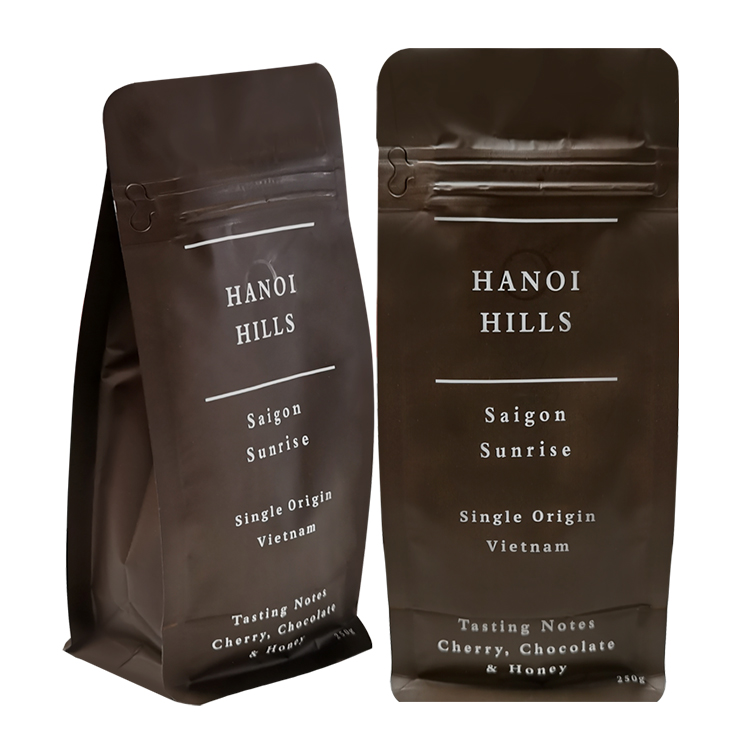
Keep other changes visible. Moving from the brown 250 g reference to the white one also changes the material description, printing and closure arrangement. Those differences belong in the comparison even if size is your main concern. A clear brief lets the team compare the proposed package as a whole while tracking the specific dimensional change you requested.
Complete a measurement and sample-fit record
Give the reference bag a name and revision
Identify the reference before sending measurements. A simple project name, coffee weight and image number are enough to begin. Label the front, reverse, bottom and detail views consistently, and use the same letters for the corresponding arrows in your notes. Keep the supplier's original dimensions alongside your measurements if you have both, especially when their reference points differ.
Use the following fields as a working record. Leave a field open when the reference cannot answer it and describe the question for the next drawing or sample. For example, an opened bag may let you examine the base while its removed top leaves the original overall height unresolved. That is a useful starting brief when its condition is clearly described.
| Record item | What to write or attach |
|---|---|
| Reference and date | Project name, bag or sample version, numbered images and date measured |
| Coffee target | Whole beans or ground coffee, intended net weight and product used in the trial |
| Bag condition | Empty flat, empty opened or filled; note any removed top, folded closure or other alteration |
| Outside face width | Value and unit, panel identified, arrow endpoints and whether seals are included |
| Overall height | Value and unit, top and bottom endpoints, and whether the top is unfolded |
| Gusset or base | Value and unit, side or bottom location, and the exact folded/opened definition |
| Mouth and features | Filling entry, consumer opening, zipper, valve and relevant feature positions |
| Closing area | Proposed seal boundaries, equipment reference and observations after the target fill |
| Filled outline | Footprint and height in the intended closed condition, with shelf or carton constraints |
| Proposed specification | Drawing revision, agreed measurement method, tolerances and changes needing another check |
Run a focused dimensional trial
- Match the proposed sample. Identify its dimensions, material and opening arrangement, and list any difference from the bag under discussion. A similar-material reference can answer an early handling question while a size-specific trial needs the relevant geometry.
- Record the empty reference. Mark the agreed face, height and gusset measurements with units and readable endpoints. Keep the photographs with that sample's name so a later observation can be traced to the same construction.
- Fill through the intended entry. Use the target coffee and weight with the planned method. Note how the mouth, body and folds behave during normal handling, including any point where access or support becomes awkward.
- Close and check the working outline. Use the intended closing sequence, then record filled height, footprint and remaining closing space. Try the actual shelf or carton arrangement that creates a dimensional constraint.
- Describe the required change. State what happened and which result you want, then ask for a revised drawing or sample as appropriate. Retain the accepted reference and the dimensional record for the next order.
Agree how the finished dimensions will be checked
Before confirming the order, align the quoted dimensions, drawing and sample reference. Agree the measurement condition and endpoints, the intended values and the relevant tolerances. A ruler reading from an existing used bag helps describe a preference; the production specification needs the agreed criteria for the new construction. Keep those criteria with the revision you accept.
Separate a fixed fit requirement from a preferred appearance. For a shelf opening or a packing fixture, show the available internal space, the direction in which the filled bag enters and the condition of its top. For a carton, identify the intended bag count and arrangement as well as the box reference. Mark which limits the new bag must meet and which proportions you are willing to change. This helps the team review a dimension that looks suitable on paper against the actual place where the bag will be used.
For the wider review of material, print, opening, handling and delivery preparation, use our coffee bag sample-testing guide. Similar-material samples are free, and custom sample fees are refunded when you place an order. Sample shipping is quoted for your destination. Tell us whether the next sample needs to answer a size question, a material question or both.
Frequently asked questions
What should I send if I need a 5 lb coffee bag?
Send the 5 lb target, approximately 2.27 kg, with the coffee form, preferred bag format and filling method. Add any existing package, shelf limit, closing requirement or carton constraint. If you have no reference size, describe those requirements so we can discuss a candidate drawing and trial sample. A 5 lb fill does not specify one standard outside size; choose the proposed construction through that review.
Can I resize the existing artwork after changing the bag dimensions?
Ask for the revised dieline before adapting the artwork. A different face proportion, fold, seal or opening position can change where text and graphics belong. Review those areas together rather than scaling the entire design automatically. Our free coffee packaging design service can help arrange the layout for the agreed dimensions, with layered production files supplied after design approval.
Further Reading
Share your coffee weight and bag measurements
Send us the coffee form and net weight, preferred bag format, measurement record or reference photographs, filling method, quantities per design and delivery country. Tell us which part of the existing bag works well and what you want to change. We can help turn that brief into a size discussion and the appropriate sample stage. We offer free design, unlimited revisions and free layered production files after design approval. You can start with a logo and reference bag even if the final dimensions and artwork are still being developed. Tell us about your coffee bag project and include the measurements you already have.