
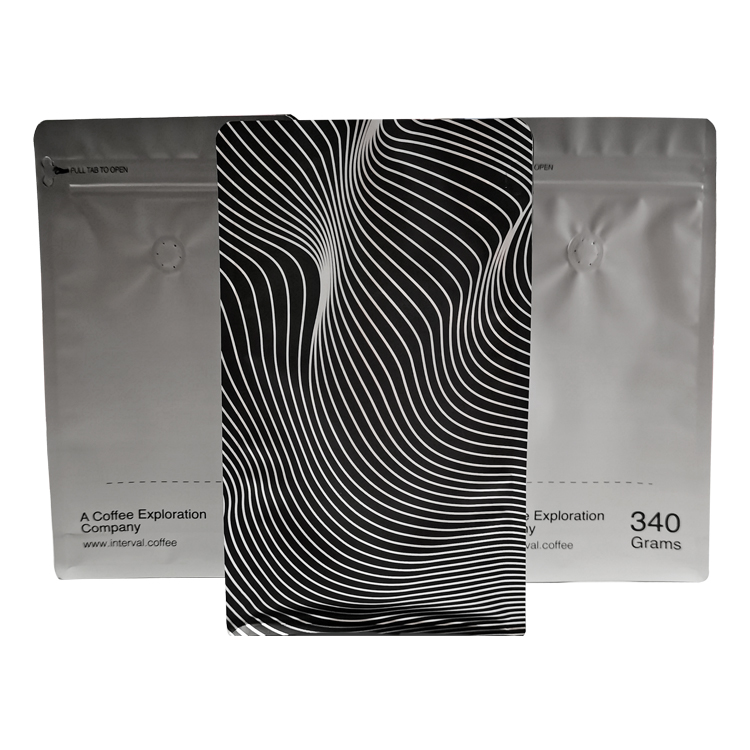
We make coffee bags with several opening arrangements. This guide helps you use the bag in your hands and, if you buy packaging for a coffee brand, decide what your next bag should make clear to customers. The examples include a top-access stand-up pouch and two flat bottom bags with different zipper arrangements.
Identify the opening before you pull or cut
Read the upper area and both faces of the bag
Stand the bag upright and look at its front, reverse and upper edges. Find any opening words, arrows, shaped tab or small notch. A folded top or label may cover part of the arrangement, so release an external fastening if the package instructions call for that. Let loose coffee settle away from the opening before you begin.
A broad sealed band can look like the most obvious place to pull, but a separate access feature may sit on a face of the bag. Look for the part designed to be gripped. Pulling two welded edges apart can damage the package while leaving the intended zipper unopened. If a feature is unfamiliar, read the full instruction before applying more force.

Match the visible feature to its job
Use the following features as starting points. Several can appear on one bag, and their positions depend on the selected construction.
| What you find | Its role | Your next action |
|---|---|---|
| A small notch beside an upper band | A starting point for the intended tear | Check that the opening route leaves the zipper and gripping edges intact |
| A shaped tab or marked removable strip | First access through a particular part of the package | Grip the indicated tab and follow the printed pull route |
| A pair of zipper profiles inside the opening | Reclosure between uses | Separate the accessible lips to open; align and press the profiles to reclose |
| A round degassing valve | Gas release through the valve system | Leave it attached and find the separate consumer opening |
| A fold, clip or tin tie | An external fastening or handling arrangement | Release it as directed, then identify the underlying first opening |
The notch starts an opening; the zipper closes it again. You may therefore need to remove a band or strip before the zipper becomes accessible. Zipper manufacturers also offer constructions with their own engineered opening zones, so a familiar bag shape does not establish one universal tearing method.
Keep the valve out of the opening sequence
A coffee bag with a valve is opened according to its tear, tab or closure arrangement. The valve does not need to be unscrewed, peeled away or punctured to reach the coffee. Wipf's explanation of a one-way degassing valve describes gas passing through a valve mechanism, which is a different job from providing consumer access.
Leave the valve in place while you open and use the bag. For the reasons a brand might specify one, see our guide to valves for whole beans and ground coffee. Here, concentrate on finding the actual opening rather than treating a round feature as a release button.
Open a bag with top access and a zipper
Locate the zipper before removing the upper band
On a top-access arrangement, the zipper runs below the area removed for the first opening. Identify that horizontal closure and the material above it. The remaining edges need to give you somewhere to grip when separating and pressing the zipper during later uses. Keep both the profiles and those edges usable.
If the bag has a notch, check the associated opening direction. Hold the body steady, keep the coffee below the opening area and begin at the notch. Guide the tear across the intended removable band. If the tear starts heading down toward the closure, stop and inspect the route rather than continuing through the zipper.
Where the packaging directions specify scissors, cut only through the indicated opening area. If there is no clear instruction, first establish where the zipper sits and whether a removable band leaves enough gripping material. Avoid choosing a lower cut simply because the upper material is difficult to separate. Ask the roaster for the intended method when the layout is unclear.
Separate the accessible lips, then widen the opening
After removing the first-opening band, hold the accessible front and back lips close to the zipper. Gently draw them apart to disengage the closure. Open enough of its usable length for the intended pouring or scooping action, without pulling the profiles away from the bag wall. A welded side edge is not an extra opening to break.
Keep the bag upright as you establish the opening. A full bag may hold coffee close to the upper area, so opening it flat on its side can turn a simple first access into a spill. Once the zipper is open, shape the available opening with your hands rather than cutting down the sides to make it larger.
A real top-access reference for your own bag
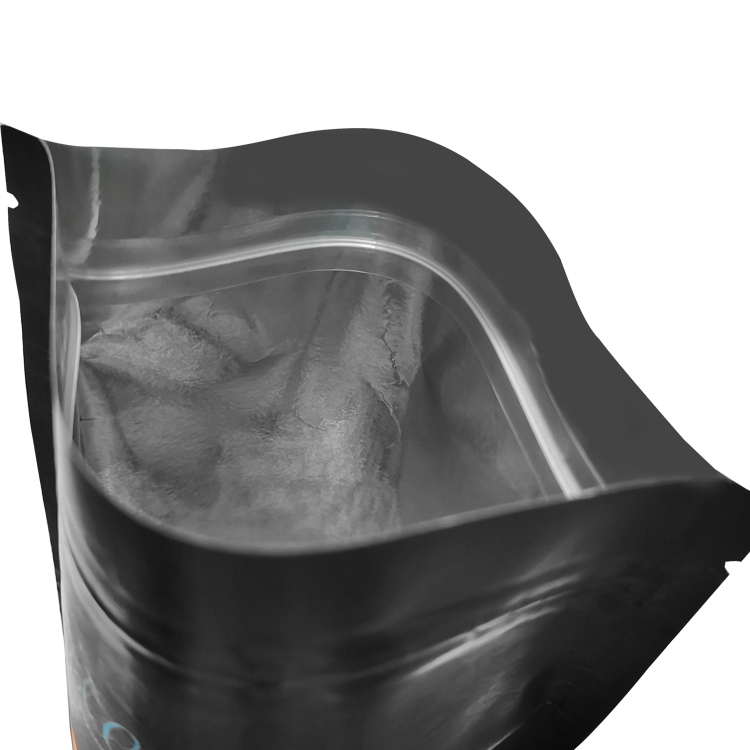
Our 250 g digitally printed kraft stand-up pouch measures 15 × 23 + 5 cm and includes a zipper and degassing valve. We made it with MATOPP / Kraft Paper / VMPET / PE at 140 µm film thickness. The open view shows the closure near the upper edge of this particular pouch.
For your own packaging, review whether the opening gives customers a practical grip and enough access for the coffee they will pour or scoop. The paper-containing material description and the opening layout are separate parts of that discussion. Our coffee bag materials guide explains the laminate terminology if you are also comparing constructions.
Open a pull-tab or pocket-zipper arrangement
Follow the tab on the face of the package
A pull-tab arrangement can provide access through a panel while leaving the bag's upper filling and final-seal area separate. Read the instruction beside the tab and identify the removable strip or cover. Hold the bag body steady, grip the indicated starting point and pull along the specified route. Open the exposed reclosure as the package directs.
Do not assume that every tab pulls in the same direction or removes the same amount of material. The grip, opening zone and exposed zipper depend on the construction. If a tab stops partway, inspect the remaining connection and the printed route. Pulling harder from a different seam may create an opening that cannot be reclosed properly.
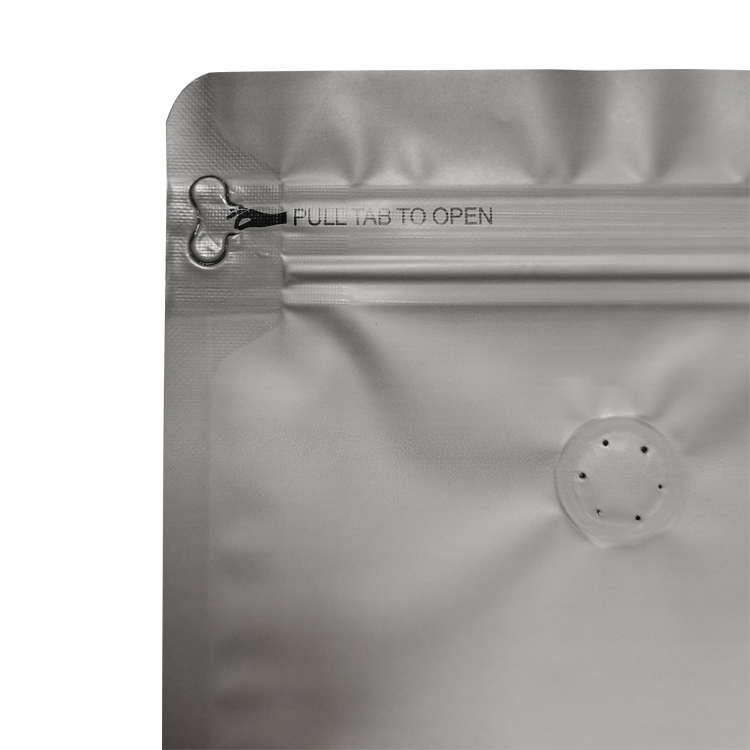
Our digitally printed pull-tab flat bottom coffee bag is a 12 oz, approximately 340 g, example. It measures 15 × 26 + 6 cm and uses MATOPP / VMPET / PE at 140 µm. Its pull-tab side zipper provides reclosure, while the top remains available for filling and final sealing.
The close view shows an opening instruction beside the tab and the valve below it. For your brand, that separation helps define two different areas on the drawing: where the customer starts opening and where the valve belongs. Keep the sample in hand when deciding how an arrow or short instruction should guide the movement.
Compare pocket and pull-tab names through the actual construction
Pocket zipper, pull-tab zipper and side zipper describe aspects of an arrangement, but suppliers may use these names differently. The name alone does not tell you the exact grip, opening width or filling route. When using a retail bag, follow its own directions. When ordering, ask to see the proposed configuration on a drawing and physical sample.
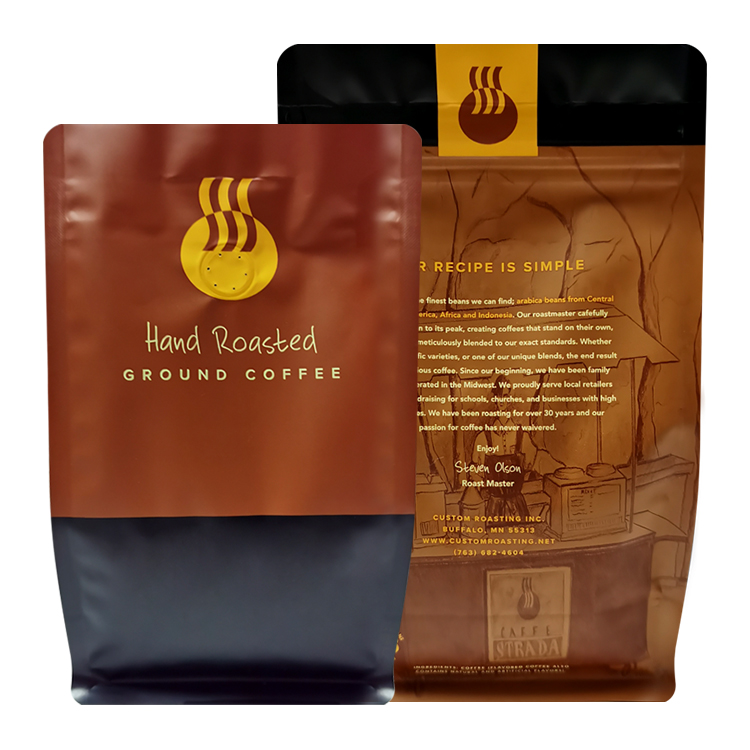
We made this 12 oz ground-coffee pocket-zipper flat bottom bag in 13 × 22 + 8 cm, using MATOPP / VMPET / PE, 140 µm film and gravure printing. The pocket zipper creates reclosable access while the top remains available for filling and the final heat seal. It is a different configuration from the larger digitally printed example above.
Those two bags share a nominal 12 oz coffee fill, yet their dimensions and opening references differ. Use the example closest to your intended handling as a discussion point. A request for a 12 oz bag still needs a separate opening specification; coffee weight does not choose the closure or its location for you.
Pour and reclose the bag during use
Give the coffee a clear route out
Open the zipper sufficiently before tipping the bag. Support the body and direct the opening toward the receiving container, grinder or scoop. Keep the upper edges from folding into the stream. If you have to pinch the opening almost shut to control pouring, adjust the way you hold the bag rather than forcing coffee through the closure tracks.
Return the bag upright when you have the amount you need. Check the upper area before closing it. Whole beans can become lodged near the ends of an opening, while ground coffee can collect along the profiles and folds. Different coffees can therefore reveal different handling issues on the same nominal bag size.
Clear the profiles and close the full usable length
Move loose coffee back into the body of the bag. If particles remain on an accessible zipper, gently remove them with a clean, dry cloth before engaging the profiles. Do not pour water into the closure area or introduce a wet tool to clear it. If the track is damaged rather than simply obstructed, use the troubleshooting checks below.
Bring the matching zipper sides together without twisting the bag wall. For a conventional press-to-close profile, work along its usable length, pressing the sides together as you go. Check both ends and the middle for sections that remain apart. Follow any additional closing direction supplied for the particular profile fitted to your bag.

Keep the closing check gentle. Crushing the filled bag or sharply folding the closure to force it together is not a useful way to confirm engagement. Once closed, put the coffee back in its intended storage place and follow the roaster's instructions. Everyday reclosure does not recreate the package's original unopened condition or establish a particular freshness period.
If there is no usable integrated reclosure
Some bags use an external fold or fastening instead of a zipper. Follow the supplied folding and fastening directions after each use. A clip holds folded material together; it does not automatically establish an airtight package. If a bag has no practical closure, or its opening has been damaged, choose another storage arrangement rather than treating the fold as a repaired zipper.
The National Coffee Association's storage guidance recommends an opaque, airtight container in a cool, dark location. That provides a useful fallback for coffee that cannot be kept in a suitably closed bag. Retain the coffee name and the roaster's relevant information from the original package when transferring it; keep different coffees identifiable.
Respond when opening or closing does not work smoothly
Inspect the point of difficulty before trying again
First distinguish trouble gaining initial access from trouble engaging a zipper that is already exposed. A cover strip still attached over the opening calls for a different response from coffee caught inside an open closure. Identify the exact point where the expected action stops, then inspect that area under good light.
| What happens | What to inspect | A practical next step |
|---|---|---|
| The tab or notch will not start the opening | The indicated grip, direction and removable area | Recheck the printed method; contact the roaster if the intended starting point remains unclear |
| The tear heads toward the zipper or down the panel | The tear path relative to the closure | Stop before cutting through the reclosure; ask for guidance on that package |
| The zipper is difficult to separate | Whether the first-opening cover is fully released and the correct lips are accessible | Hold the intended gripping edges rather than pulling a welded seam |
| One section will not engage | Loose coffee, folded film or misalignment at that section | Clear the accessible area and bring the matching profiles together again |
| The profiles are split, detached or visibly deformed | The damaged section and surrounding bag wall | Use another suitable storage container and report the problem to the roaster |
Avoid testing a suspect closure by tipping a full bag upside down. A missed section can spill the coffee, and that action does not tell you how well the complete package controls air transmission. Inspect the accessible track and use the intended handling method instead. A closure problem also does not supply a new heat-sealing temperature or other packing-machine setting.
Give the roaster or packaging team useful information
Describe whether the problem happened on the first opening or during later use. Include a clear view of the whole bag, the opening feature and the affected area. Keep the product and package details available so the team can identify the version. A close photograph is easier to interpret when accompanied by a wider view showing its position.
For a packaging buyer, note whether the issue occurs with loose coffee present, with an empty sample, or after a particular opening action. Keep these observations separate from a proposed explanation. They help us review the sample, drawing and instructions together without guessing from a single photograph of a torn corner.
Review a filled sample for your coffee brand
Start with the complete opening and packing arrangement
Tell us the coffee form, target net weight, bag format and intended way of dispensing it. Include the first-opening preference, zipper access, valve position and filling route. A customer using a scoop and a customer pouring directly into a grinder may need to handle the same opening differently. Describe the action you want the sample to make practical.
Our zippers and reclosure page introduces the configurations we can discuss. The openings and windows page connects first access with the surrounding package layout. Use those pages to choose a direction, then try the complete proposal with your actual coffee.
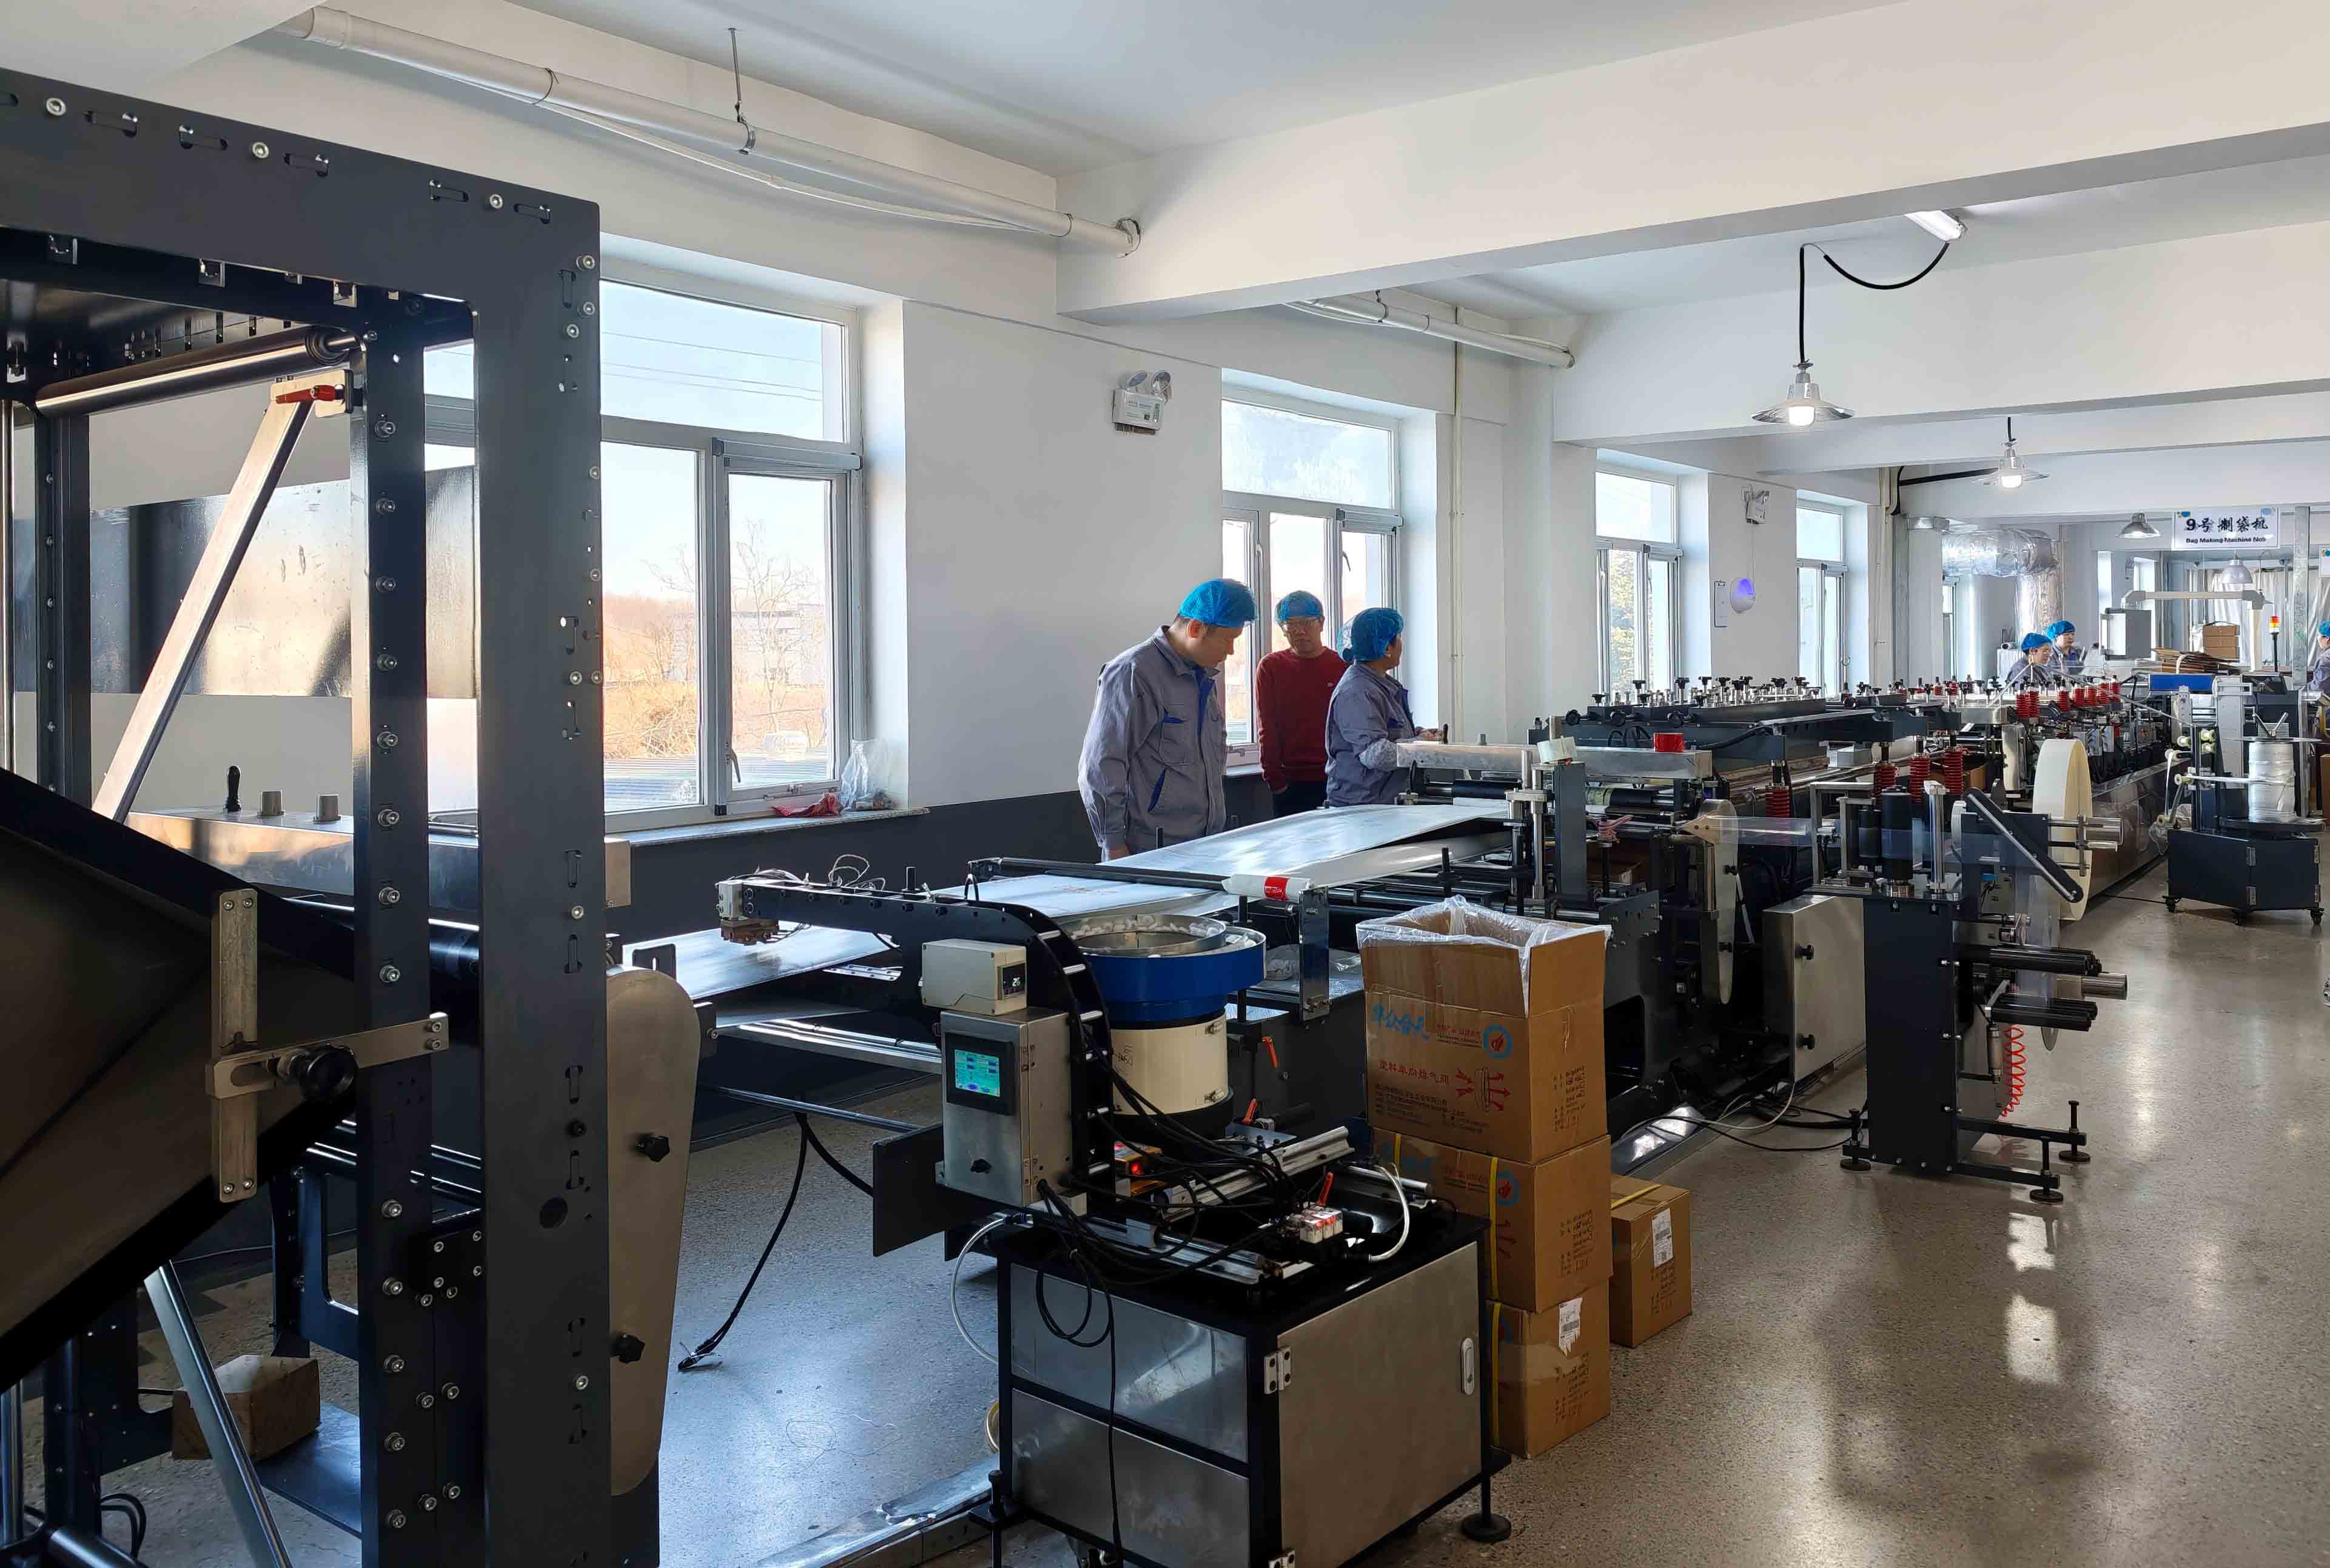
The packing team also needs access for filling and the final seal. Confirm that arrangement independently from the customer's opening. For the sealing trial itself, use our heat-sealing guide. A successful consumer-opening review is one part of sample approval, alongside the material, dimensions, artwork and packing process.
Walk through the use sequence with representative coffee
Use a sample representing the proposed dimensions, material and opening arrangement. A similar-material reference is helpful for an early discussion, but a different zipper position or opening width can change the handling. Identify what the sample represents before using it to approve the final package.
- Find the first access. Give the filled and appropriately closed sample to someone unfamiliar with its opening. Observe which feature they reach for and whether the printed cue points to the intended grip.
- Make the first opening. Follow the proposed instructions and inspect the resulting edges. Check that the opening leaves the closure attached and accessible, with enough material to hold during later use.
- Dispense the coffee. Try the intended pouring or scooping action with the actual coffee form and fill. Note handling difficulties, spills and product collecting near the closure.
- Reclose and use again. Clear loose particles, engage the full closure and reopen it during a representative use sequence. Record the exact point of any difficulty rather than treating all resistance as the same issue.
- Keep the accepted reference. Associate the sample with its drawing, material, artwork and opening instructions. Identify any differences still to be resolved before the production arrangement is agreed.
If your project needs an opening-force limit, a defined repeat-use requirement or another measured result, include it in the brief. Agree the evaluation method, conditions and acceptance requirements with the packaging team. Keep those requirements attached to the same sample version so the handling review and any technical evaluation address the proposed bag.
Use our coffee bag sample-testing guide for the wider approval record. We offer free samples of similar materials, and custom sample fees are refunded when an order is placed. Sample shipping is quoted for the destination. Tell us which decisions the requested sample needs to help you make.
Compare one opening change at a time
Suppose you are choosing between a top-access zipper and a panel-access pull-tab arrangement for the same coffee. Give each sample its own reference and use a representative fill for each proposed bag. Compare finding the first grip, making the opening, dispensing and reclosing as separate actions. One sample may be straightforward to open yet awkward with the scoop your customers use; another may pour well but need a clearer starting cue.
Write down what happened during each action and what you want to change. If one sample also changes the dimensions or material, keep those differences visible in the comparison. A narrower opening or a different panel shape can affect access independently of the zipper name. Ask for the next sample to address the specific difficulty, rather than changing several unrelated features at once.
Carry the same approach into a revision. If the requested change is a clearer grip or a relocated instruction, check that part again with the revised package and confirm that the rest of the use sequence still works. This gives your team a concrete reason for selecting the final opening arrangement.
Match printed directions to the approved opening
Put each action beside the feature it describes
Use short, concrete verbs and show where the action begins. On a top-access bag, the first cue should identify the intended removable area. On a pull-tab arrangement, it should make the tab easy to find. Give the customer a separate closing instruction if simply looking at the opening does not explain how to engage the reclosure.
Draft the wording around the sample: locate the indicated tab or notch, follow the opening route, then open and reclose the zipper. Describe a movement only when it matches that construction. A left-to-right arrow copied from another bag can be confusing if the new grip starts at the opposite end or the opening uses a different access panel.
Review the information on a filled, handled bag
Check the artwork after the panels, folds and opening areas take their intended shape. A flat screen layout may leave a useful-looking instruction hidden on a fold or covered when the customer grips the tab. Make sure important coffee information remains readable after the removable material has been taken away.
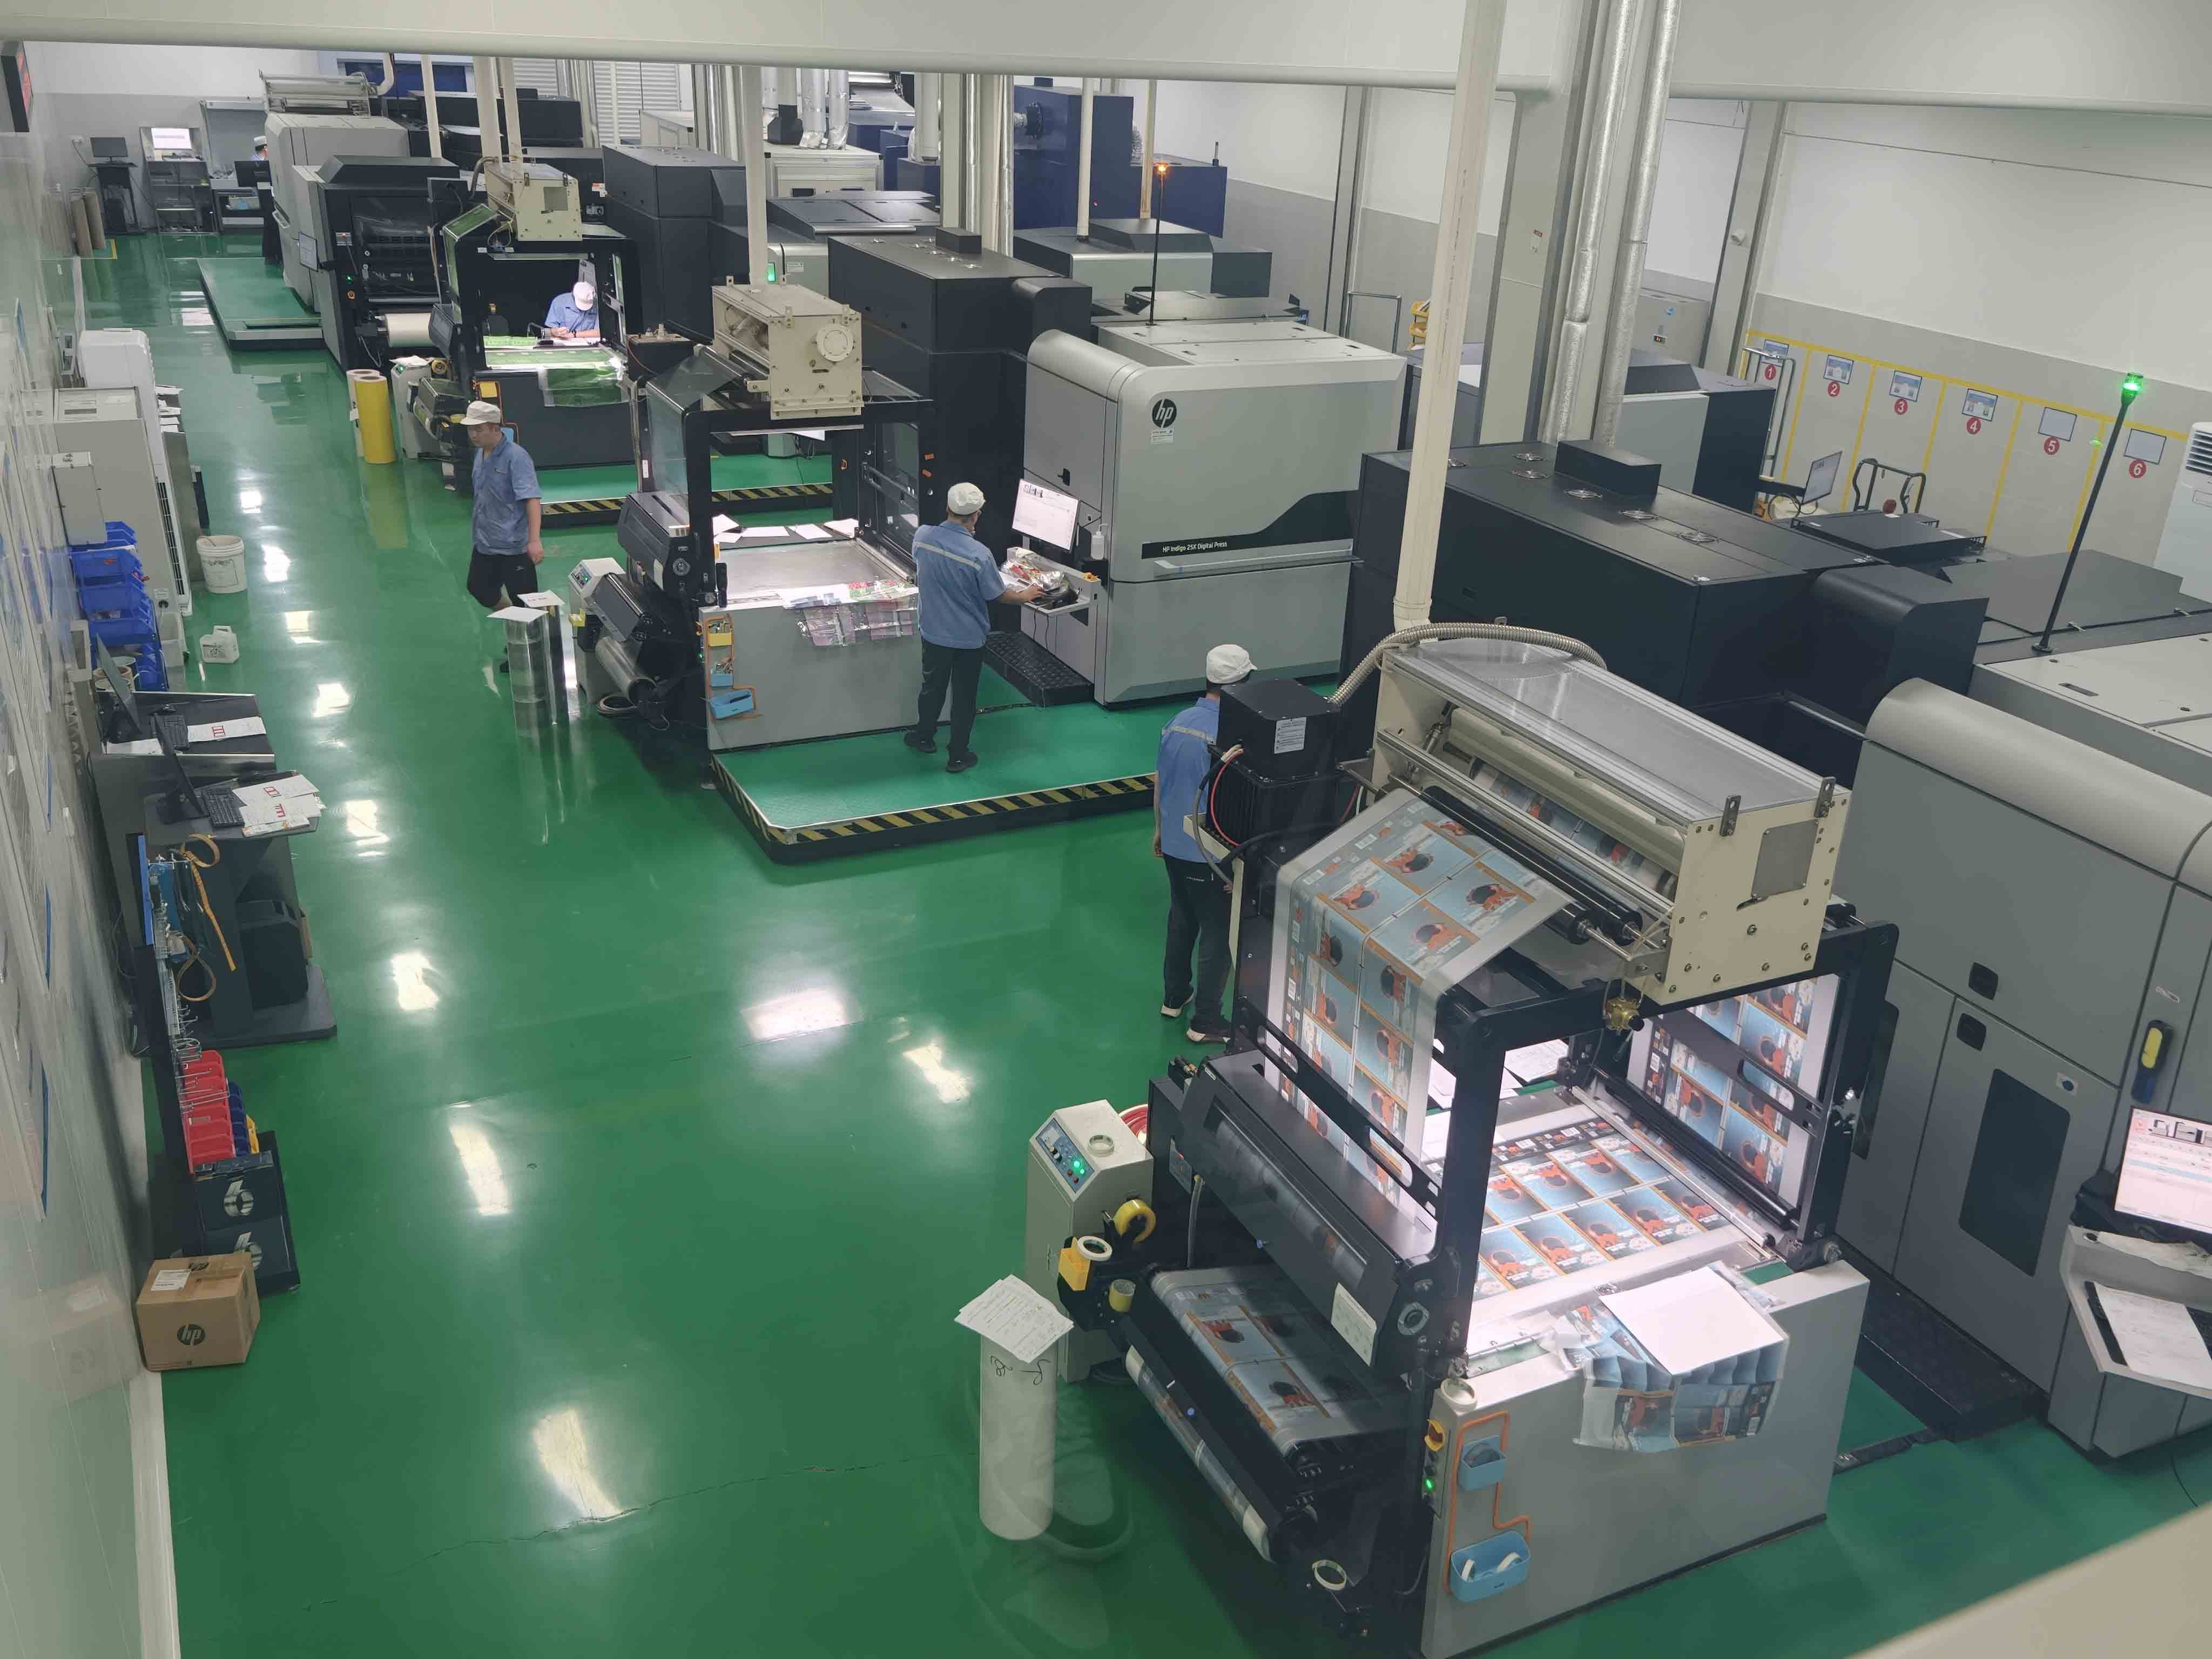
Keep the approved instruction with the correct artwork revision and bag drawing. Review it again when the opening feature, zipper position, dimensions or material changes. A familiar visual design can continue across a coffee range while the physical way of opening one package changes underneath it.
For a first custom project, send the bag you like and explain the parts you want to retain. We can help connect the opening with your own layout through our free coffee packaging design service. A finished design is not required to begin that conversation.
Frequently asked questions
Does a clicking sound prove the whole zipper is closed?
No single sound tells you that every section has engaged. Some zipper designs deliberately provide audible and tactile feedback; Zip-Pak's Sensus is one example. Follow the instructions for your fitted closure and check its full usable length. Do not assume that all coffee bag zippers should feel or sound identical.
Can several printed coffee designs share one opening instruction?
They can share directions when the relevant opening construction and action are the same. Identify the designs covered and check their actual panels and gripping areas. A change to the graphic alone does not necessarily require a different action, while a changed opening feature may require new instructions even if the branding looks similar.
Where should a QR code for an opening video go?
Choose a readable area that remains on the bag after first opening, and try scanning it on the filled package. Show the same construction and artwork generation in the video. Keep an immediate visual cue on the bag so a customer can locate the opening before deciding whether to watch the demonstration.
Further Reading
Plan the opening for your next coffee bag
Send us your coffee form and net weight, preferred bag format, opening and reclosure requirements, quantities per design and delivery country. An existing package or photographs can help explain the grip, pouring action or closure you want to keep or improve. We offer free design, unlimited revisions and free layered production files after design approval. Tell us about your coffee bag project, and we can help arrange the opening, artwork and sample stage around your intended use.